

The Reveal: Modern Scandi Living | Fall ORC 2020

")

Here we are! It’s time for the reveal!!!
A HUGE THANKS AGAIN TO BETTER HOMES & GARDENS FOR BEING AN AWESOME MEDIA PARTNER!
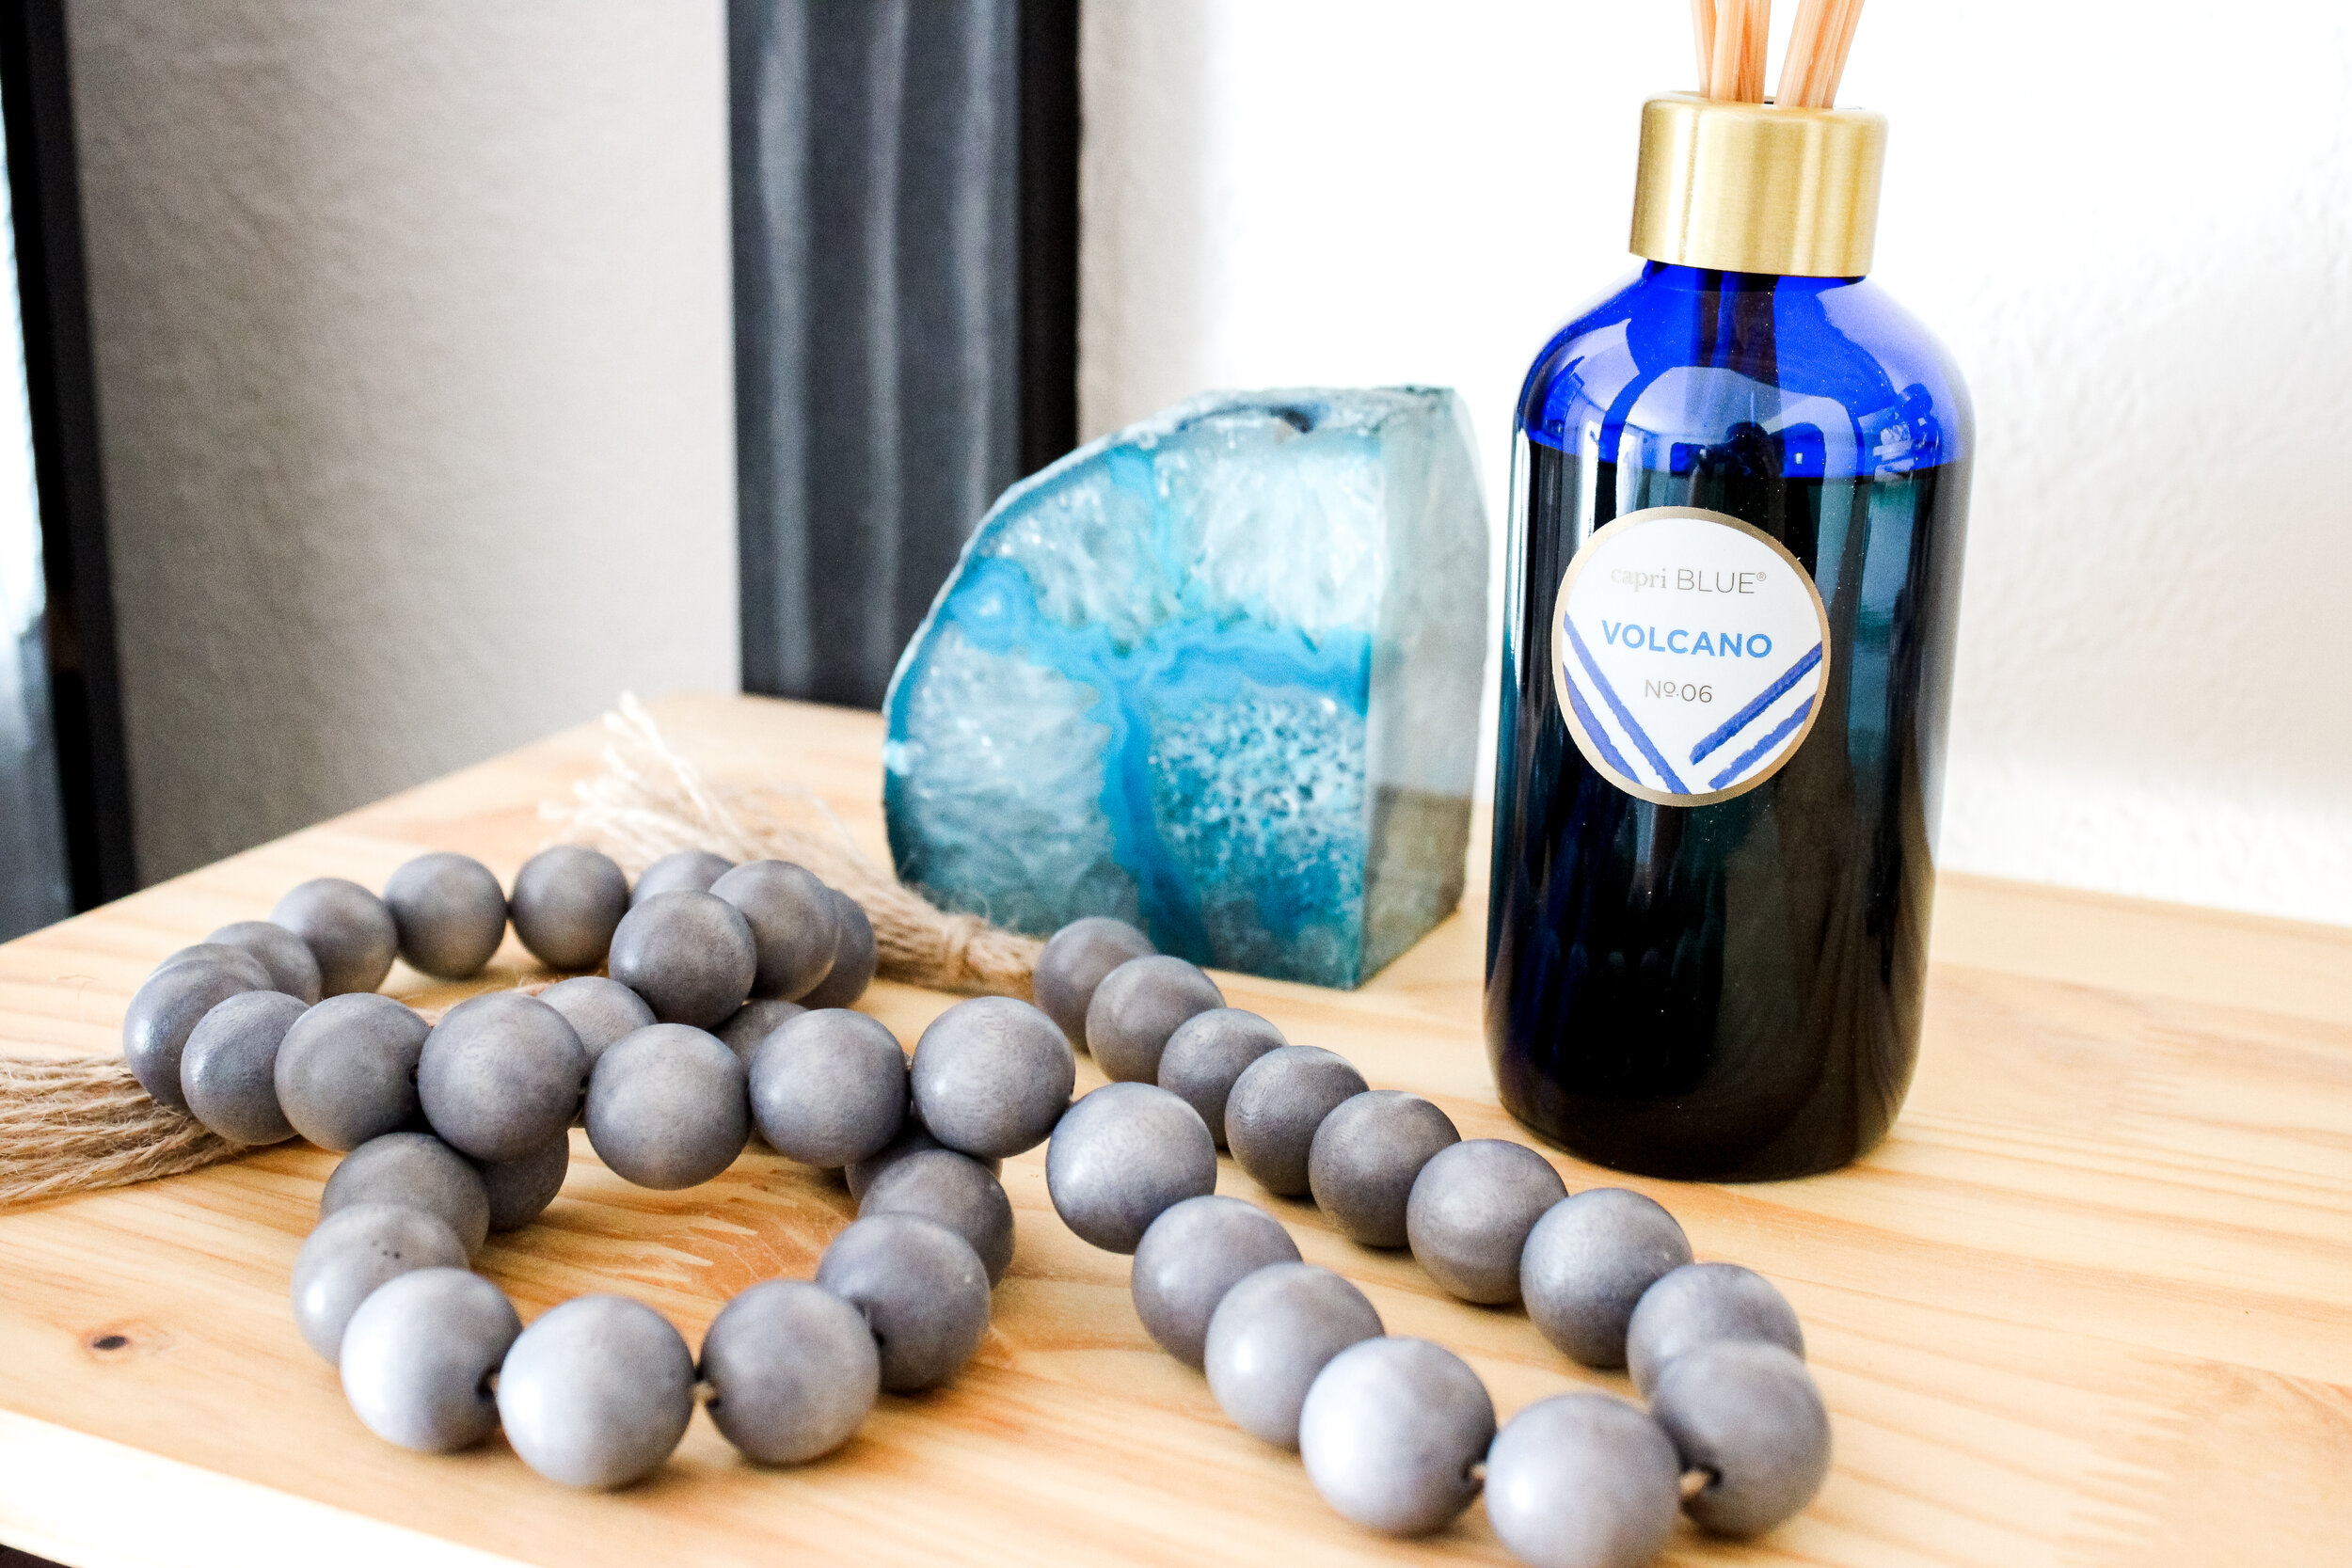
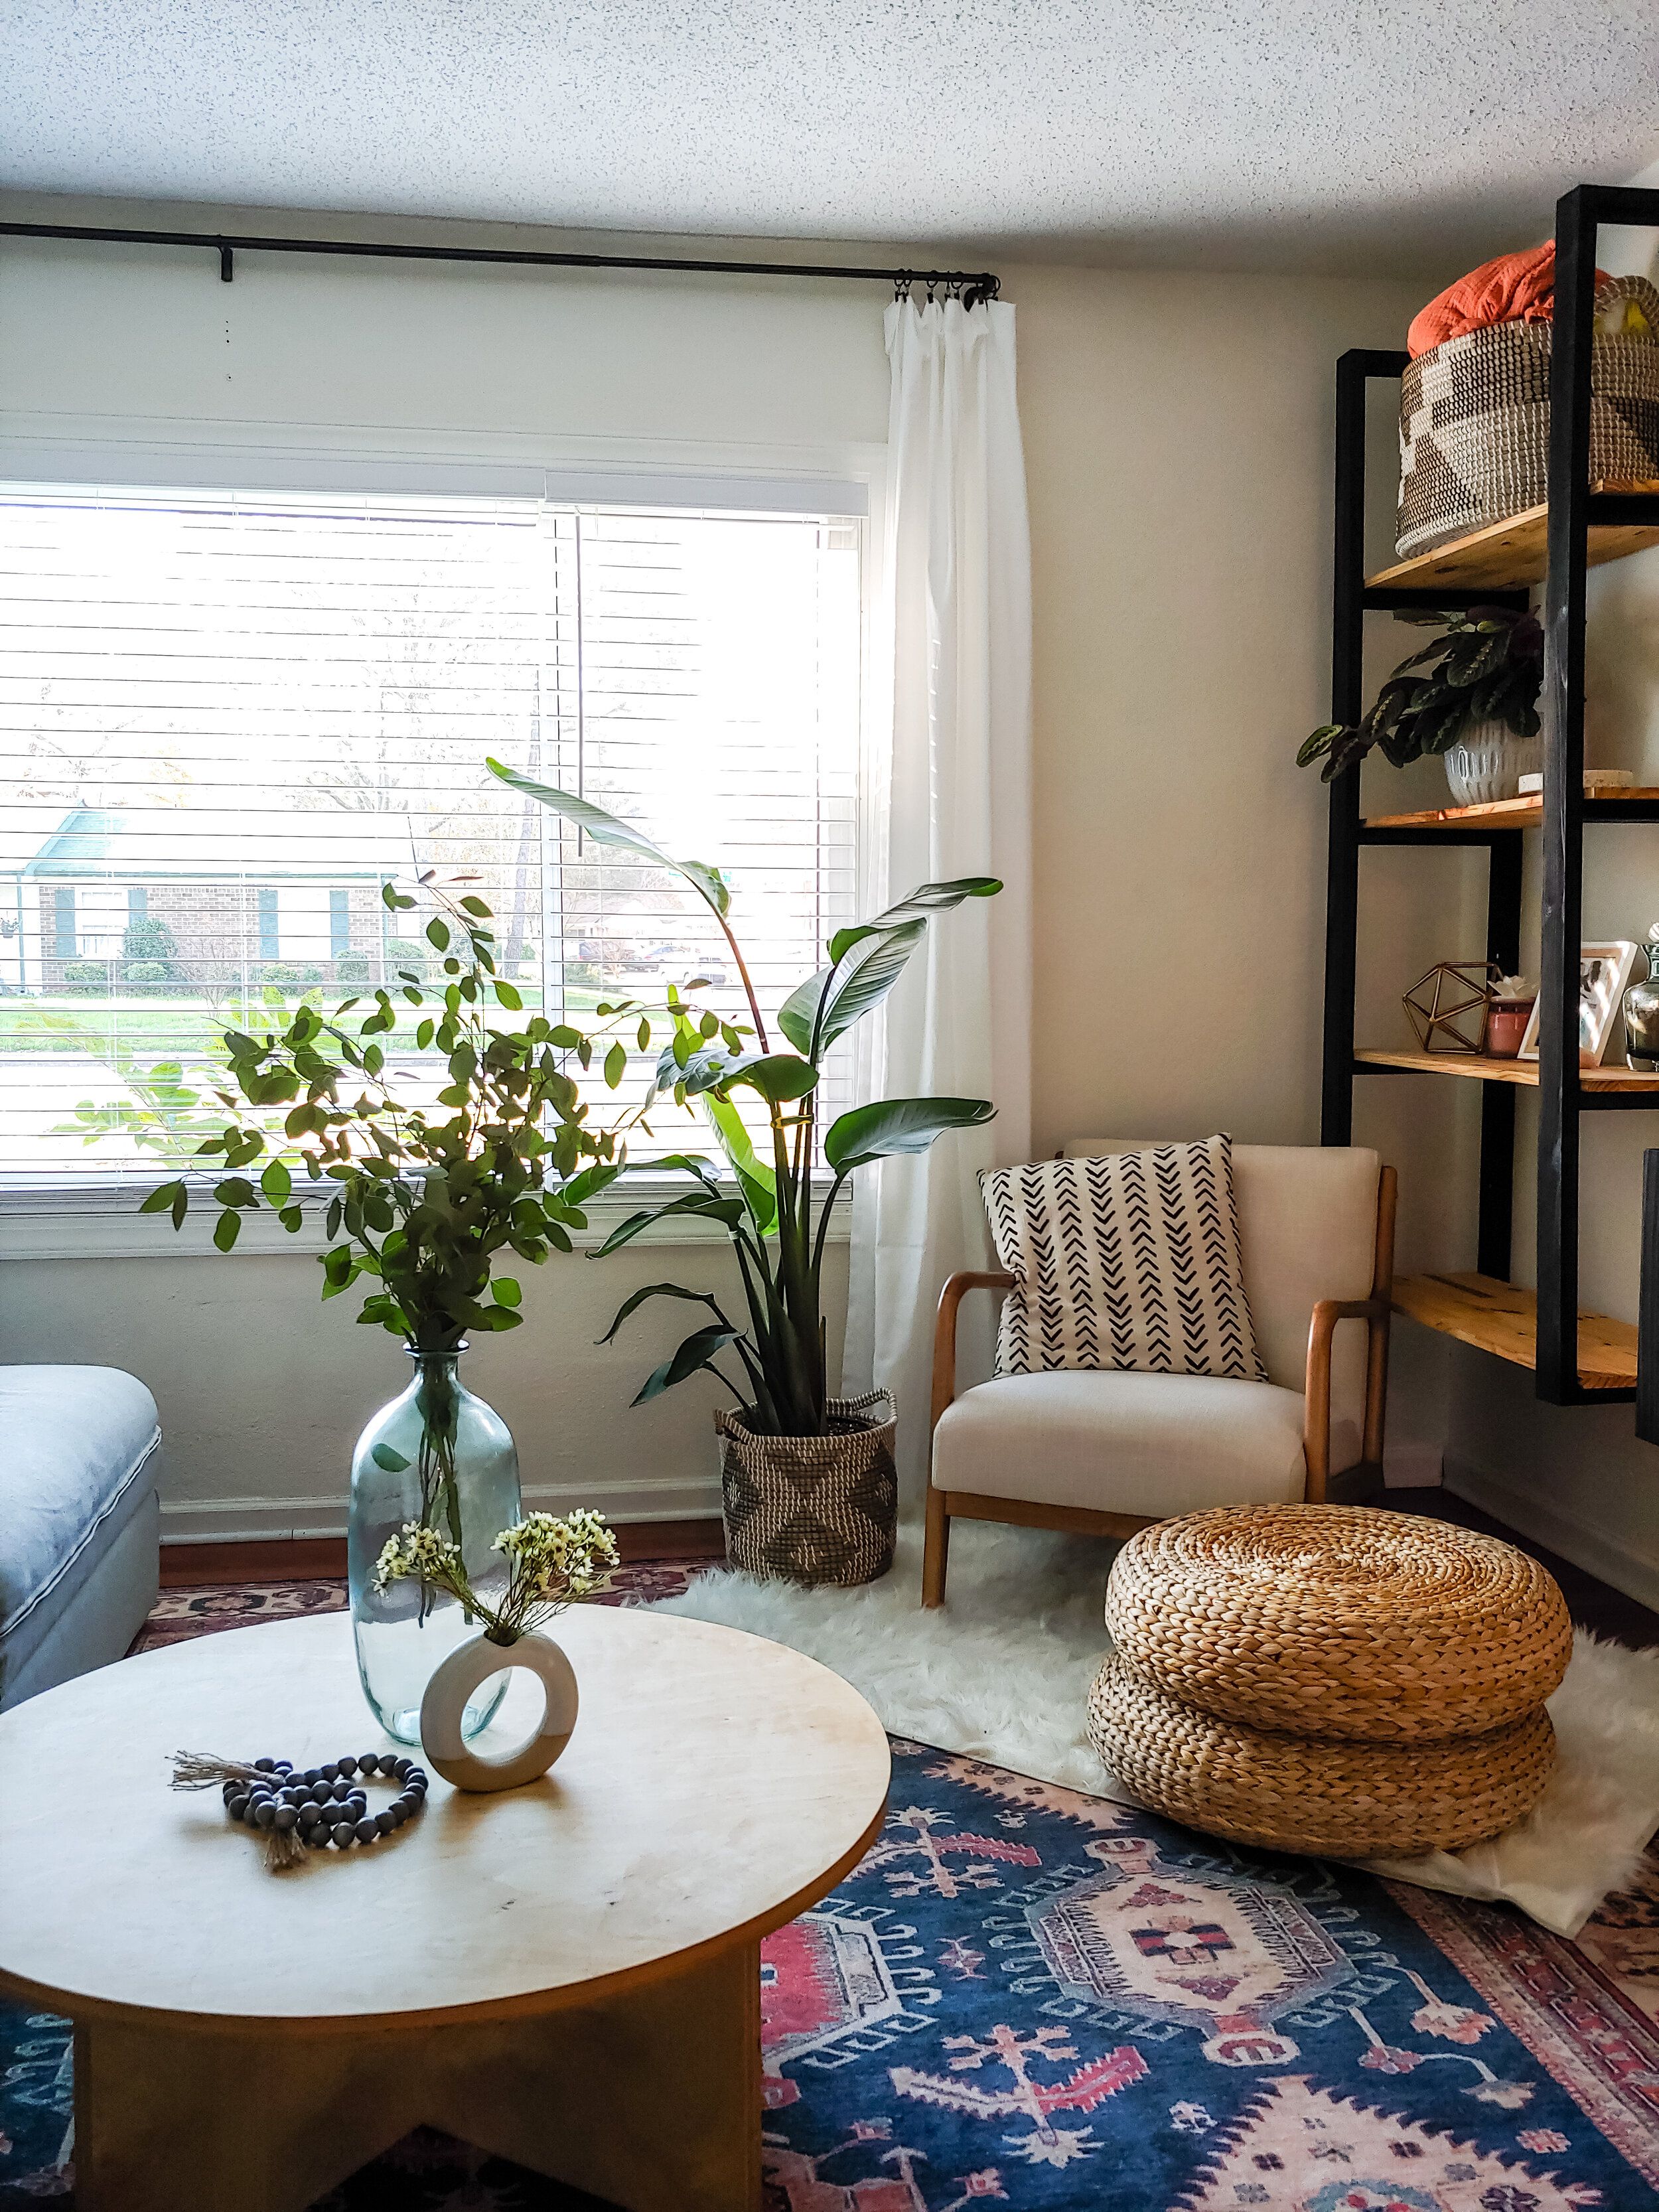
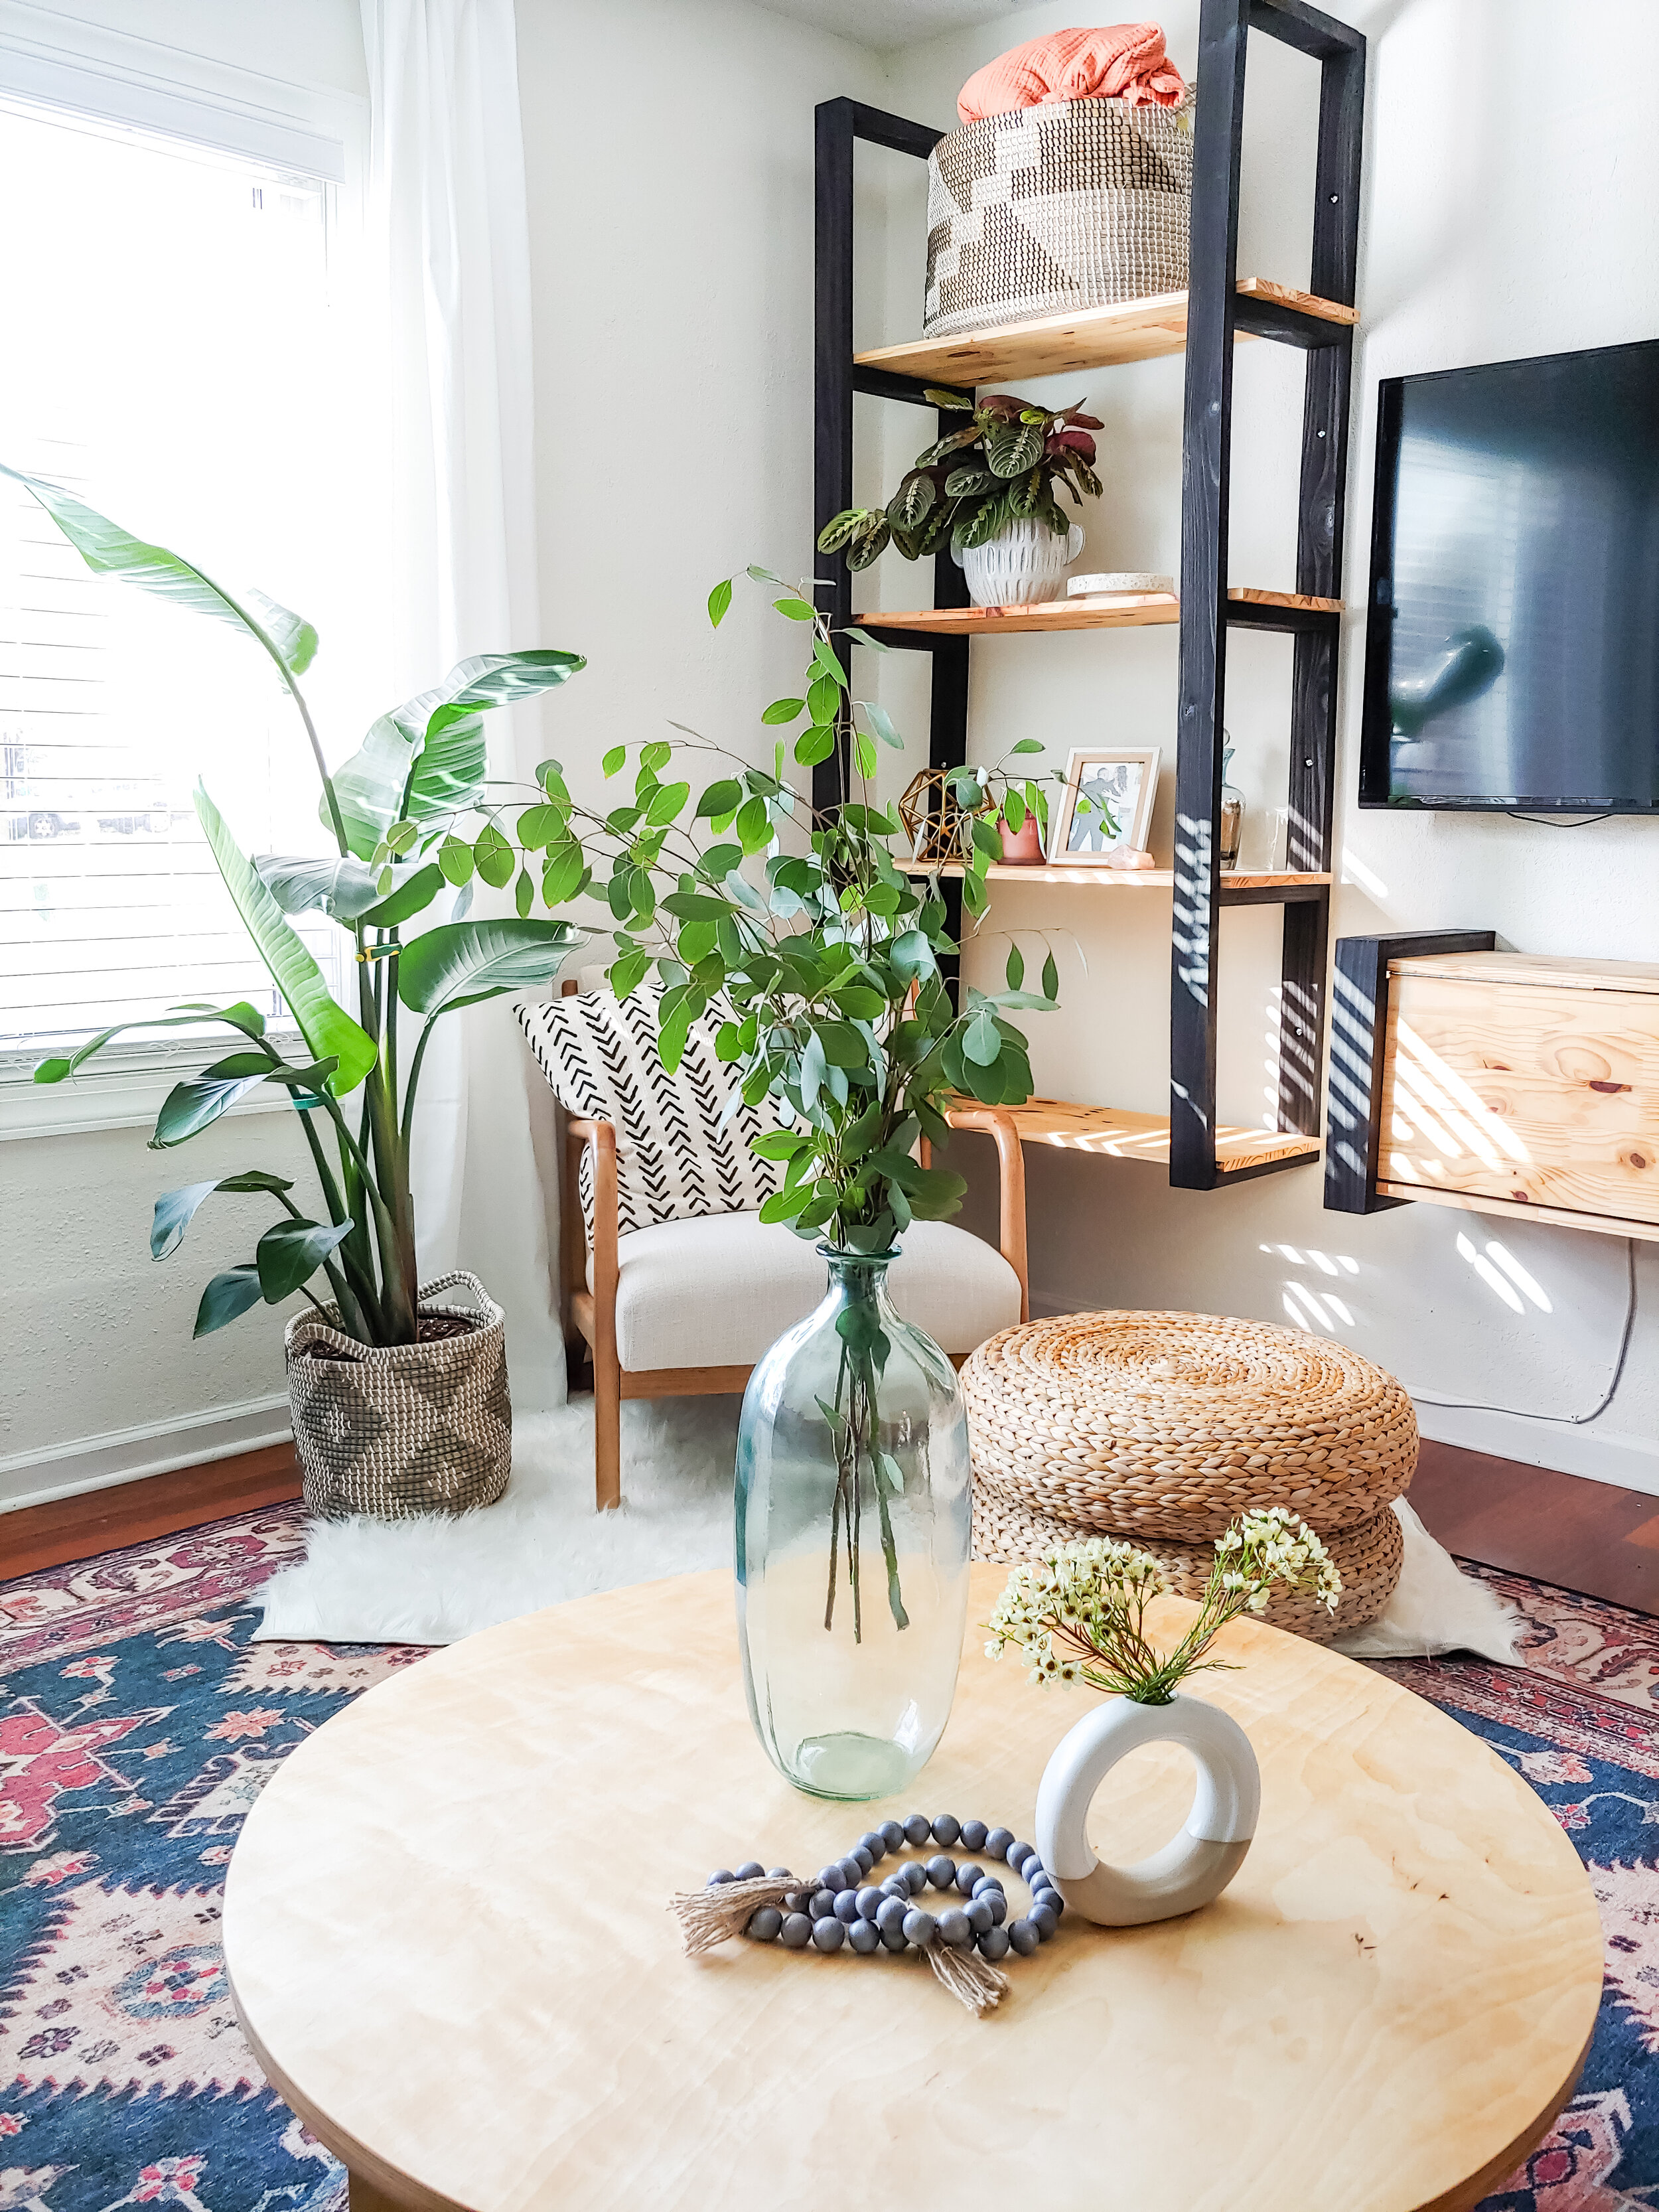
I could hardly wait to show off my pride and joy from this project – my new coffee table.
As for the other pieces, all of those will be linked down below at the end of the post, but I promise the stuff in the middle is worth reading
This week was all about the finishing touches and getting the room show-ready”.
I picked up some beautiful lumber for the coffee table from our local lumber yard (Yukon Lumber) and they had just sold a few sheets of the beautiful stuff I was about to get that same morning. However, they had plenty of another thickness and it was also beautiful, so that’s what we got!
The pieces had to be laminated together to achieve the final thickness I’d designed and would need to be sturdy to support the use of pocket holes to attach the top to the base portion.
Here’s how I thought this would go:
-
We cut the pieces to a rough slightly larger than needed size
-
Glued the pieces together to create the desired thickness
-
Let dry overnight
-
Using a straight edge, made the final cuts on the base
-
Used a router to cut the circle to size for the tabletop
-
Drilled the pocket holes
-
Sanded all surfaces (80,120,220 grit)
-
Remove dust and applied finish (let cure according to finish instructions)
-
Assembly
-
Bring in the house and admire that beautiful work of yours!
Here’s how it actually went:
-
We cut the two sheets of plywood to the rough dimensions we needed
-
Glued the panels together and placed the scroll saw on top for weight
-
Let dry overnight
-
Removed the clamps the next afternoon and set up the router to make the round cut – easy peasy, right? Wrong.
-
The router busted. I mean completely. Kaput. Done.
-
Scream in horror on the inside
When we took the router off of the jig, plastic parts and a chunk of metal came tumbling out. It wasn’t the bit – that’s all intact. We were in shock and disbelief, and definitely had some choice words at the time. Shucks.
We had to come up with an alternate plan. We got 3/4 of the cut done on the first pass with the router and it started smoking and some pieces dropped out of it – literally. What in the world!?? Not ready to give up on my table, I sat down and thought about how I could draw the rest of the circle and finish the cut. We used a drill bit to make a clean cut where I could finish marking the circle with a pencil. Now, your girl is pretty good at making a nice sharp, clean circle – remember the circle in the entryway from the last challenge? Check it out here.
I placed the pencil and used our nail and wood scrap method to finish the circle and make a clean line. There, That was done and looked great! In the meantime, we finished the partial cut that was made using the router and polished it off using a jigsaw. While it did the job, the jigsaw makes for some pretty rough tear out. I wanted to be able to make a cleaner and more accurate cut. Having newly discovered a joy for working with hand tools, I thought about using a hand saw.
I came back out to the garage the next day and thought about it – next thing I knew, I had a hand saw in my hand and I was pretty happy with the resulting cuts! It was much cleaner and more precise (not to mention it was some great meditative time) and the edges will sand up nicely.
For sanding of the table, I used a series of 4 grits. Make no mistake, sanding is a labor of love. I began with a 60 grit before advancing to 80, 120, and finally 240.
Now for the fun part! The finish! I chose Maker Brand Simple Finish for this one – having heard about it from a podcast we listen to (The Modern Maker podcast) and hearing about it, I had to give it a try. I love to support other makers and this is a great way to do it. The great part about this one is that I can touch it up easily if ever needed. I wanted a durable finish that highlights the natural beauty of the birch and this was it!
I wanted to bring in the same feel from a photo I saw in a previous issue of Scandi At Home (my all-time favorite magazine) and I found some candle holders that I just couldn’t resist! However, I always have safety in mind and I haven’t found one I like yet with LED taper candles. I’ll keep looking, but I found another lighting source for the shelving that I really like the look of. The design is reminiscent of a vintage oil lamp and it was the first part that caught my eye. Buuut, we’re in the midst of COVID so many items are sold out or on crazy backorder. The lamps I like are called the TARNABY from IKEA. The adjustable light levels caught my eye and will give us exactly what we were looking for in the space without it being an actual oil lamp. I love those, by the way.
For now, I’ll keep checking if it’s in stock and update this post when it becomes available.
After the sanding was completed, we marked and drilled the pocket holes to attach the base to the top. I touched up any rough spots from those using a sanding disk and wiped the pieces down with a lint-free cloth before I began to apply the finish. With the curing needs of the finish in mind, I did half of the surfaces one night and then followed up the next morning for the other side.
After a full 24 hours had passed, it was ready for assembly!
Now, for the finale…but here’s a reminder of where we started:
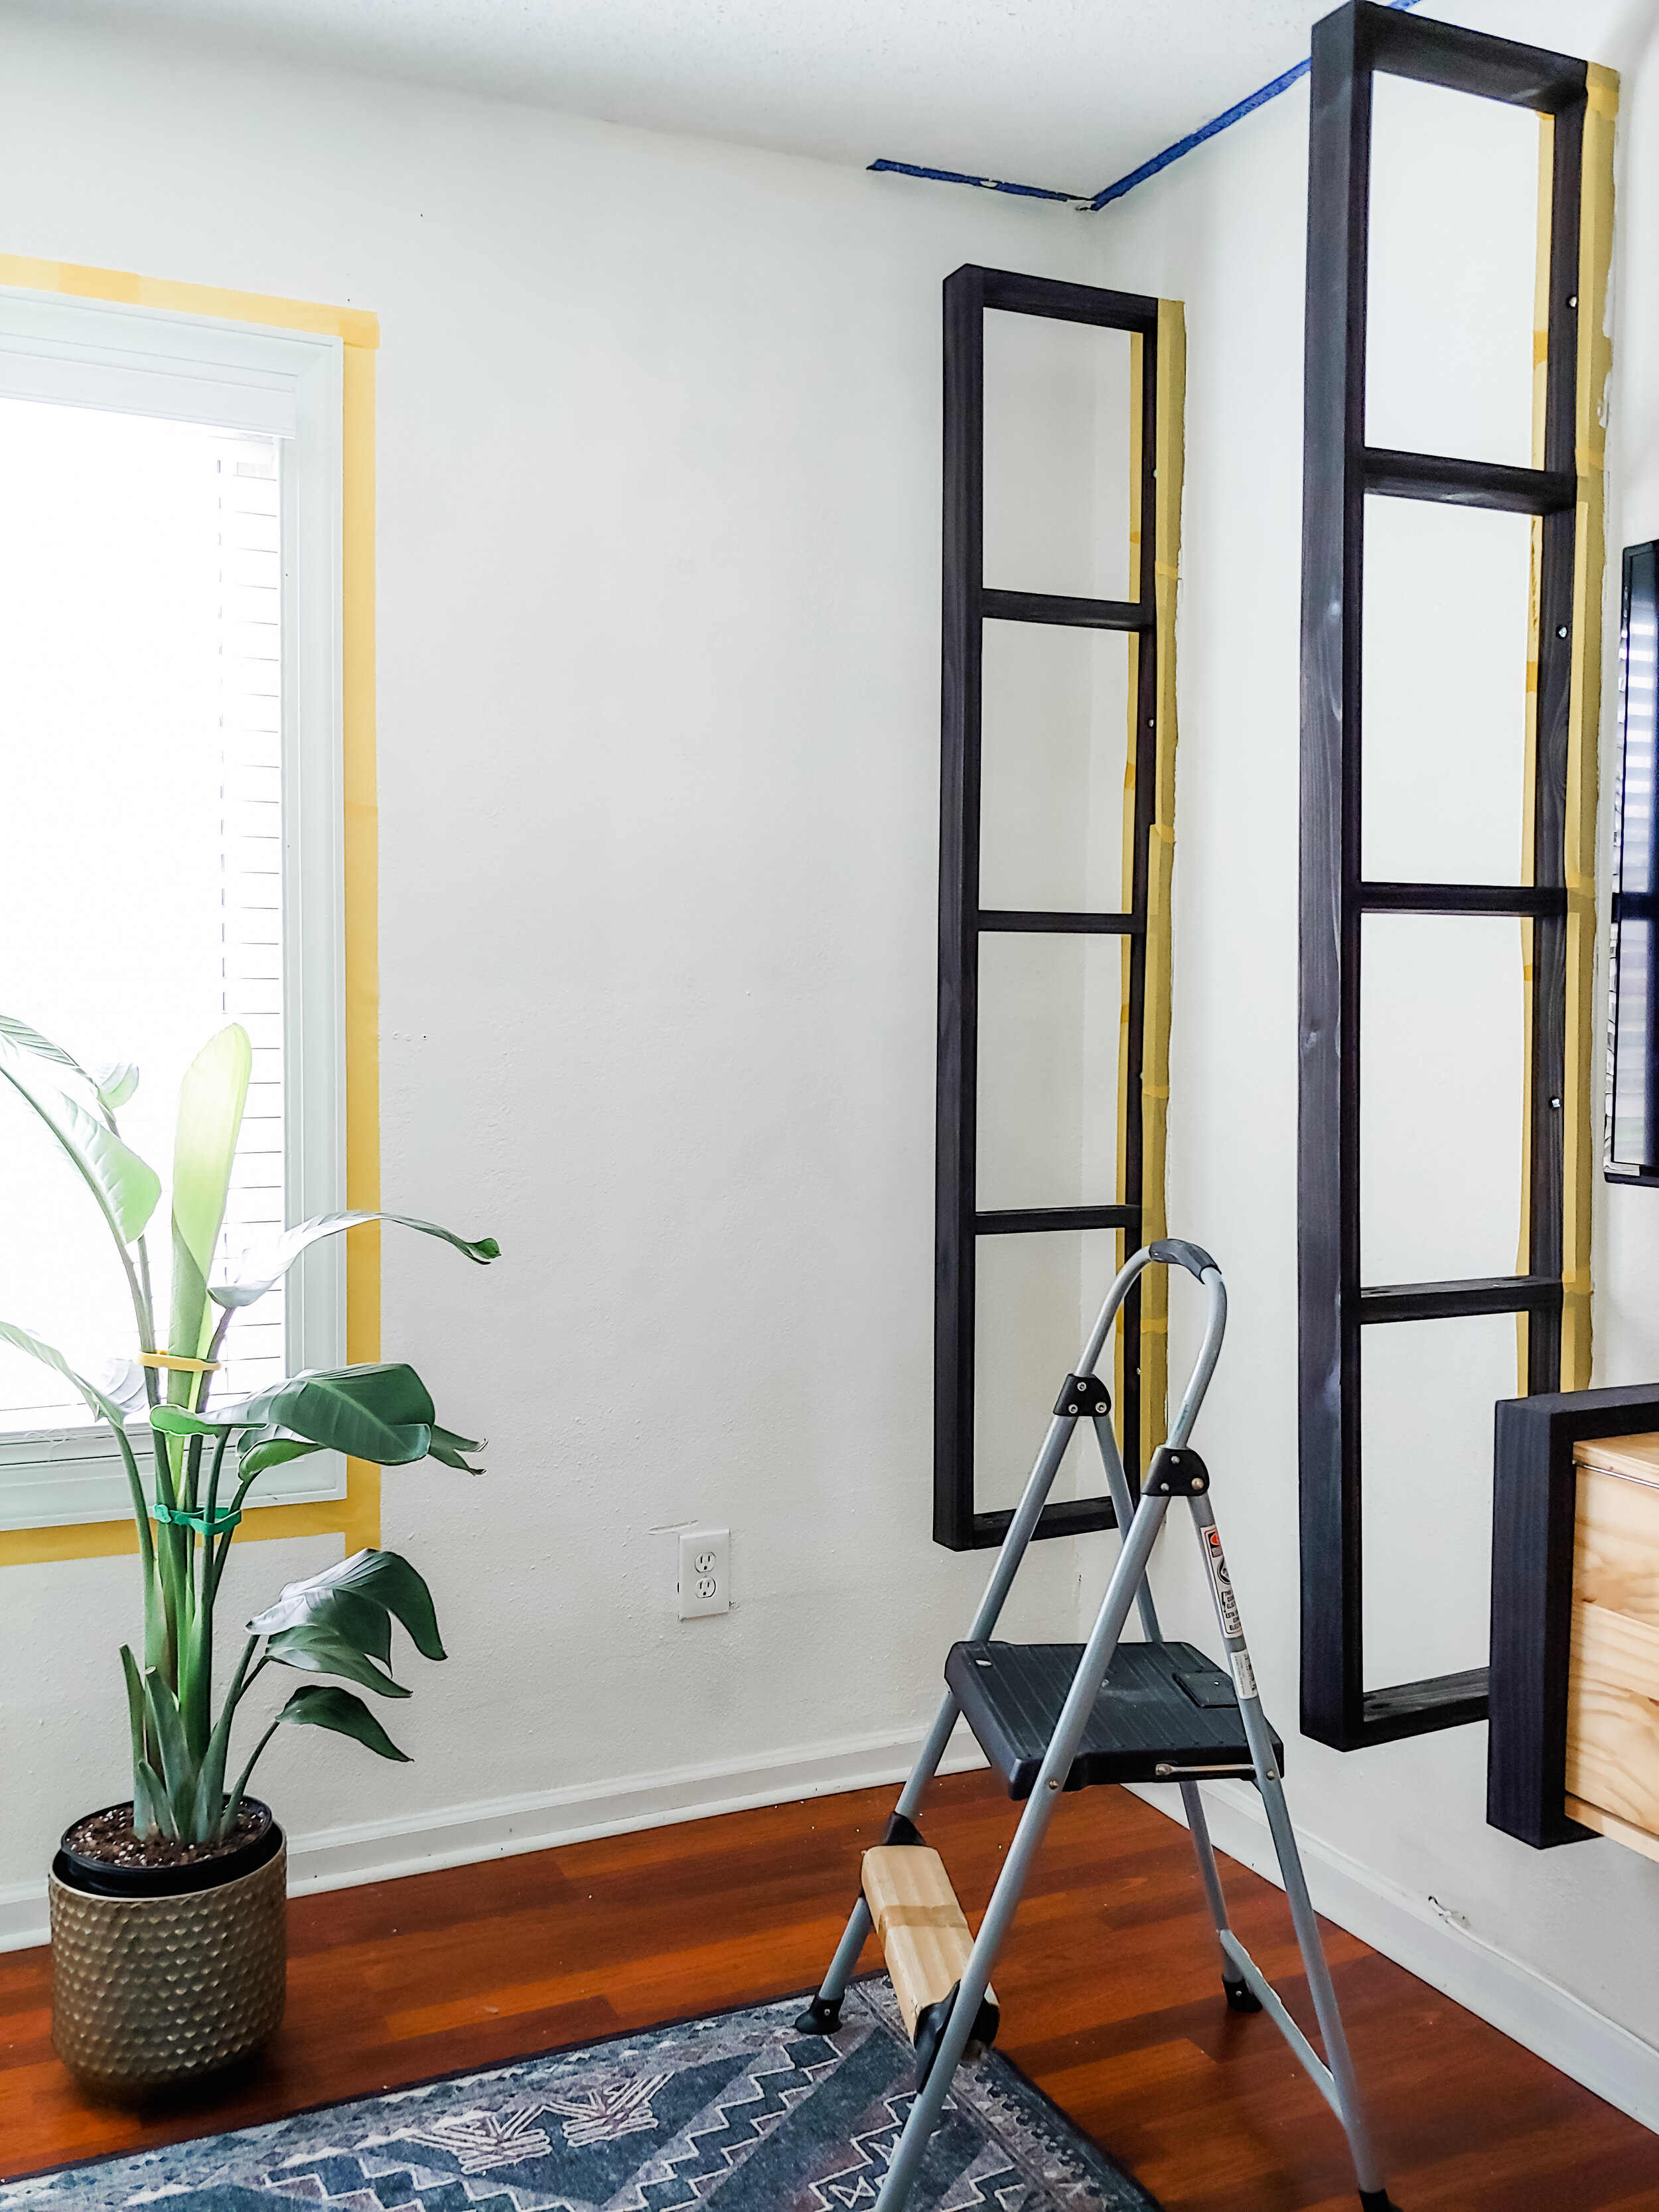
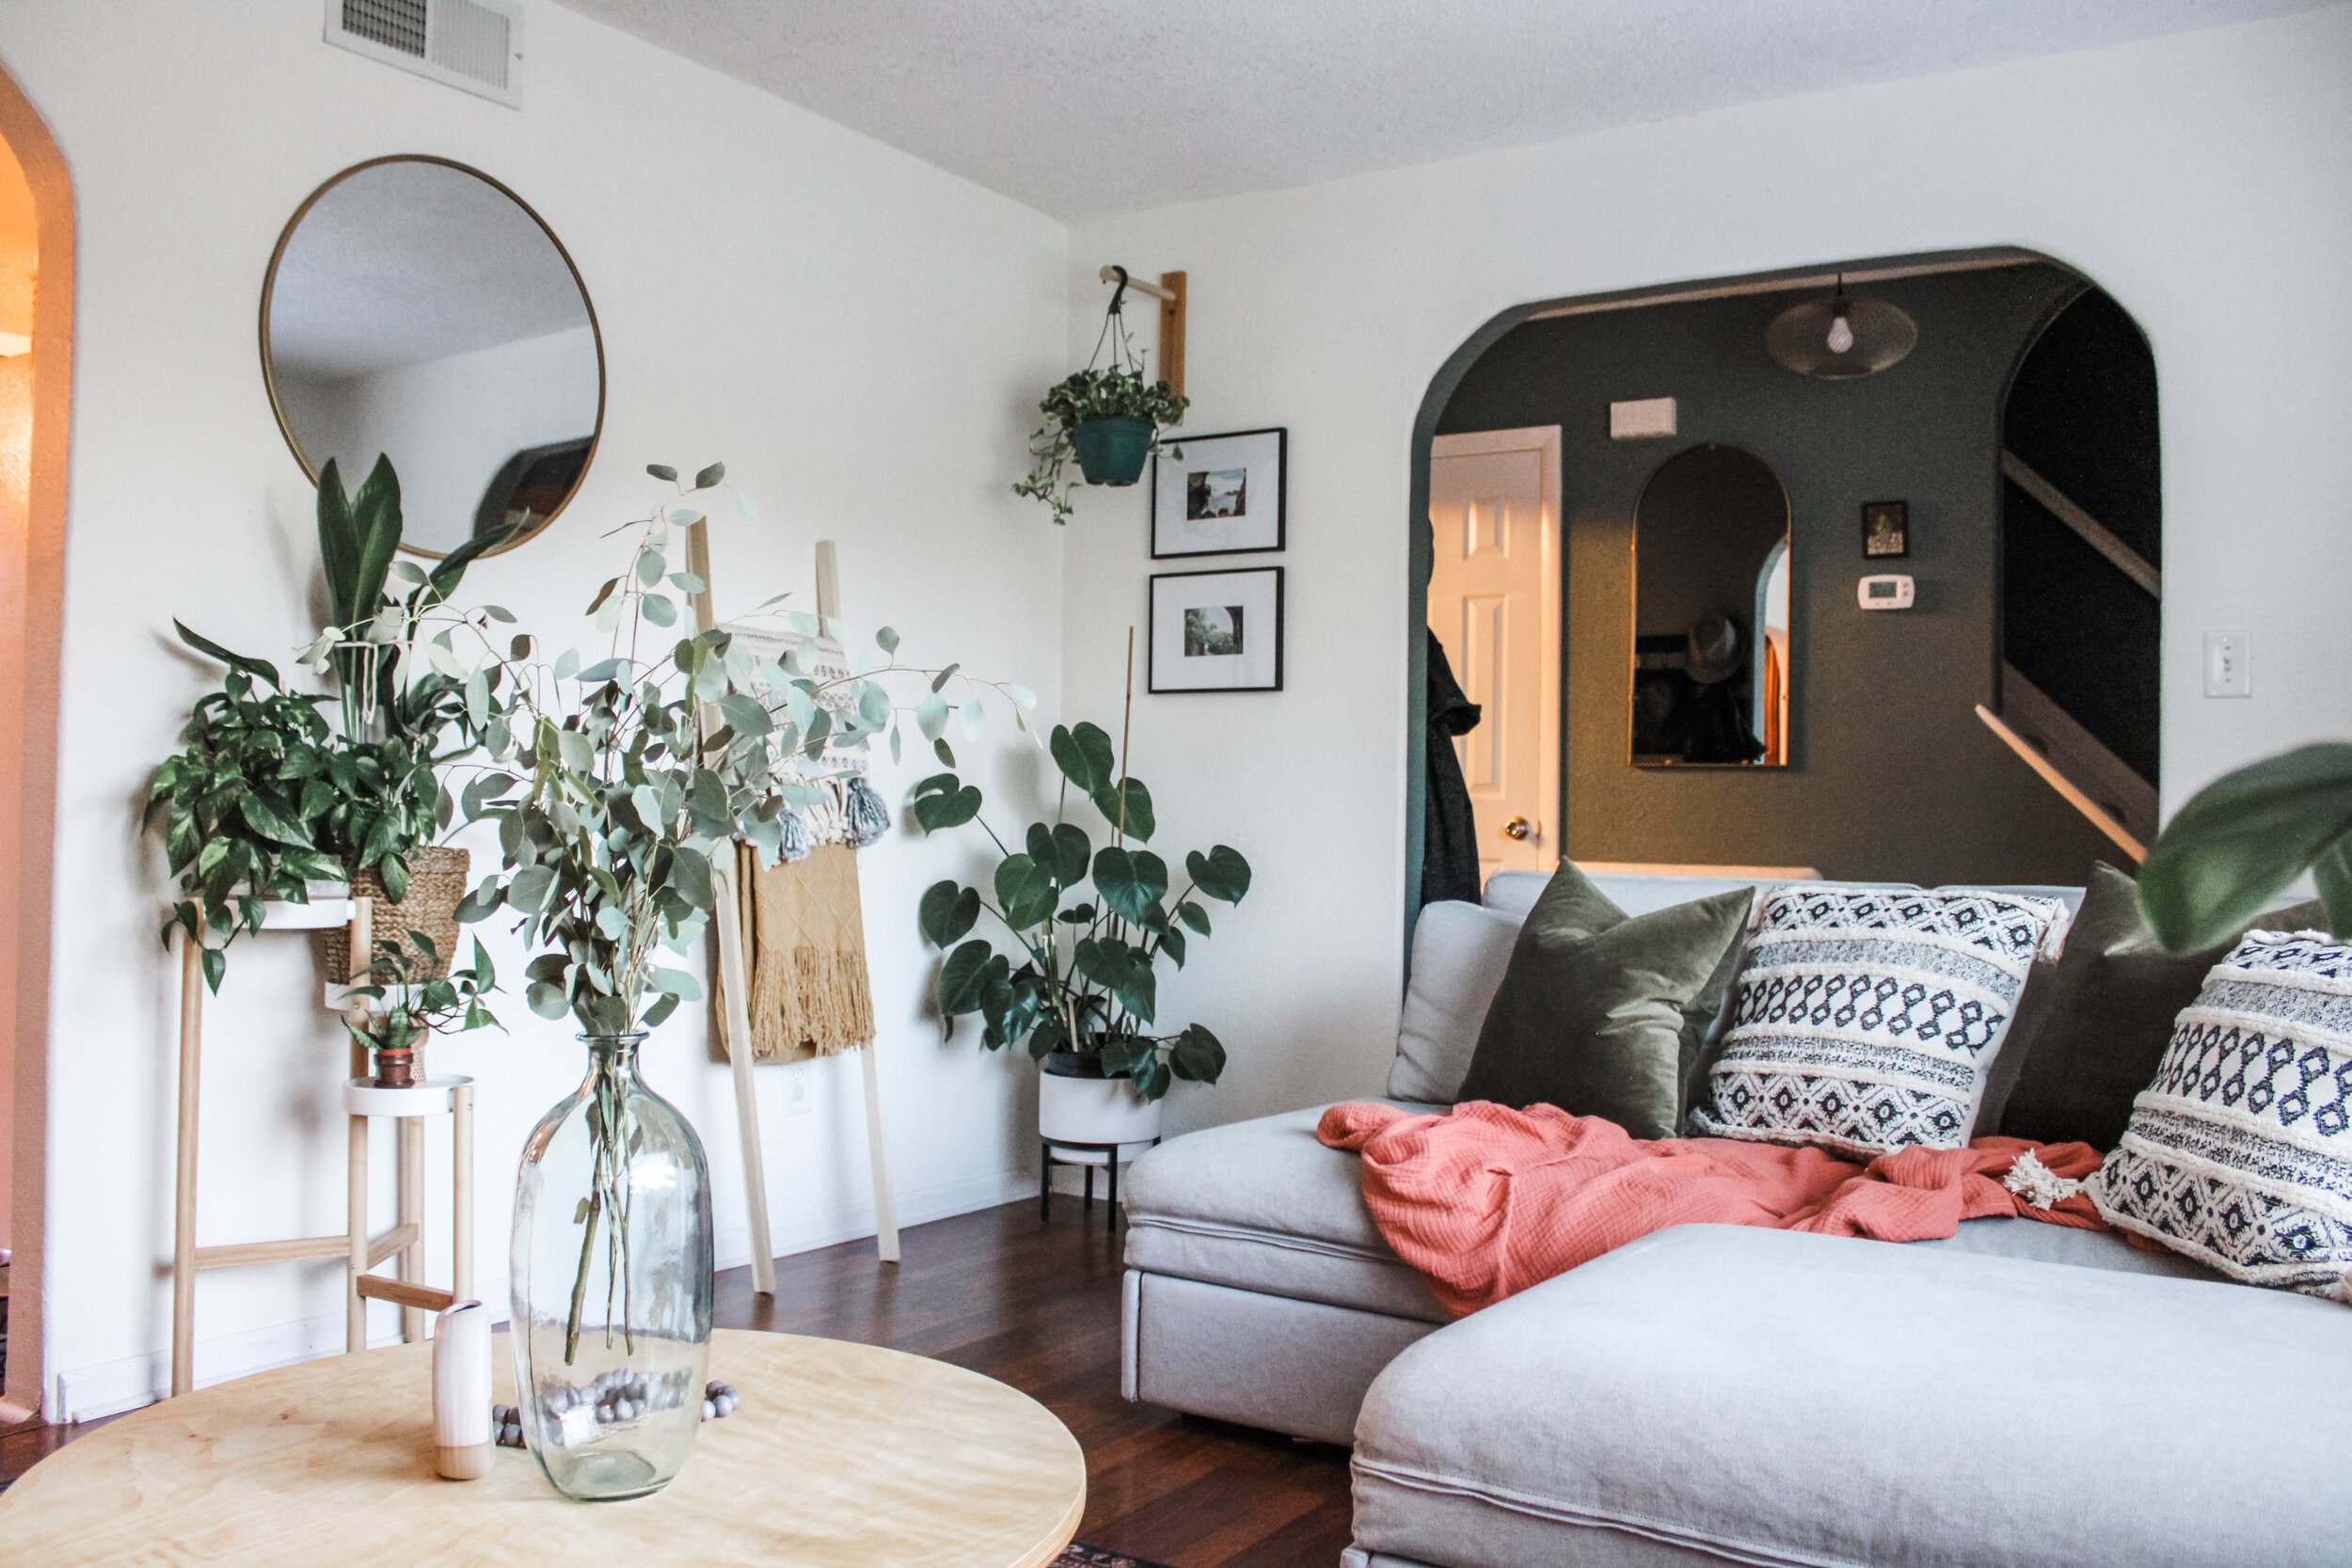
This room has come a long way from the Coastal teal mash-up that I created after we moved in – I’m pretty happy with the results, but let me know your thoughts below!
The Polished Reveal


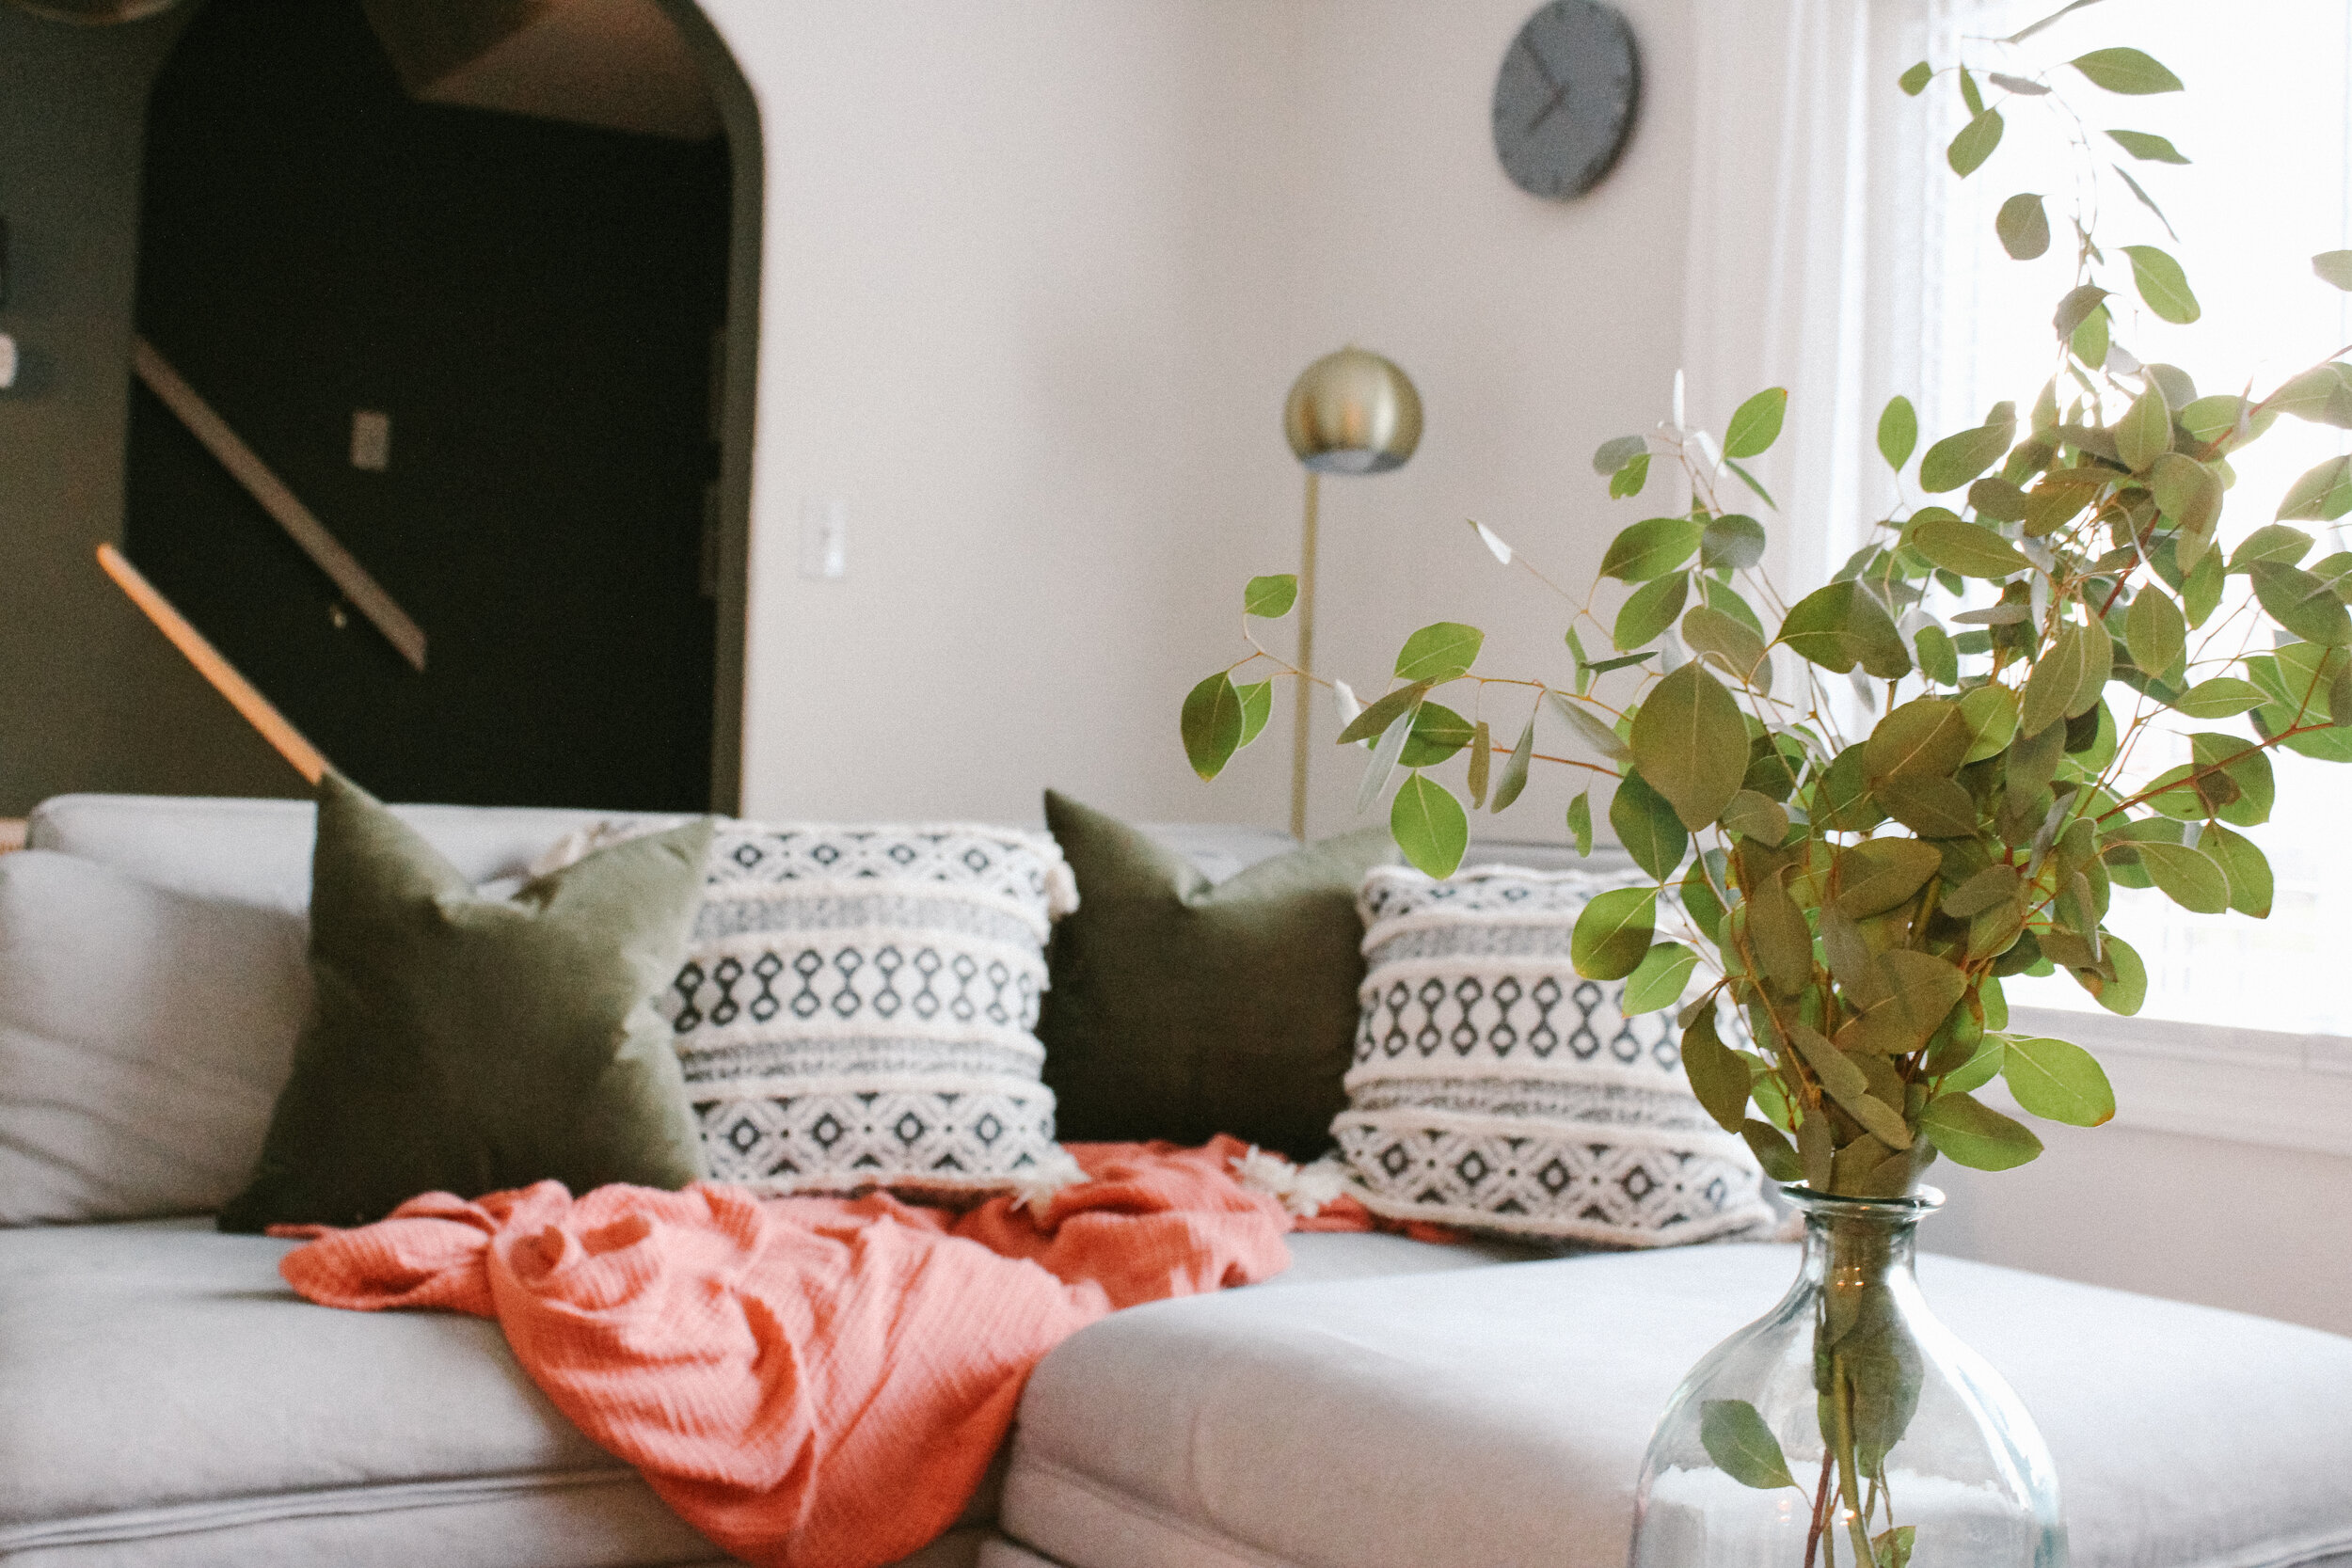
that’s a wrap! Thank you so much for following along!!!

Catherine Perez
founder, Peacock + Dahlia Interiors

Not sure where to start?
Get Catherine's complimentary home tips here!

build your furniture investment: the workbook
SHop Our favorite Collections online
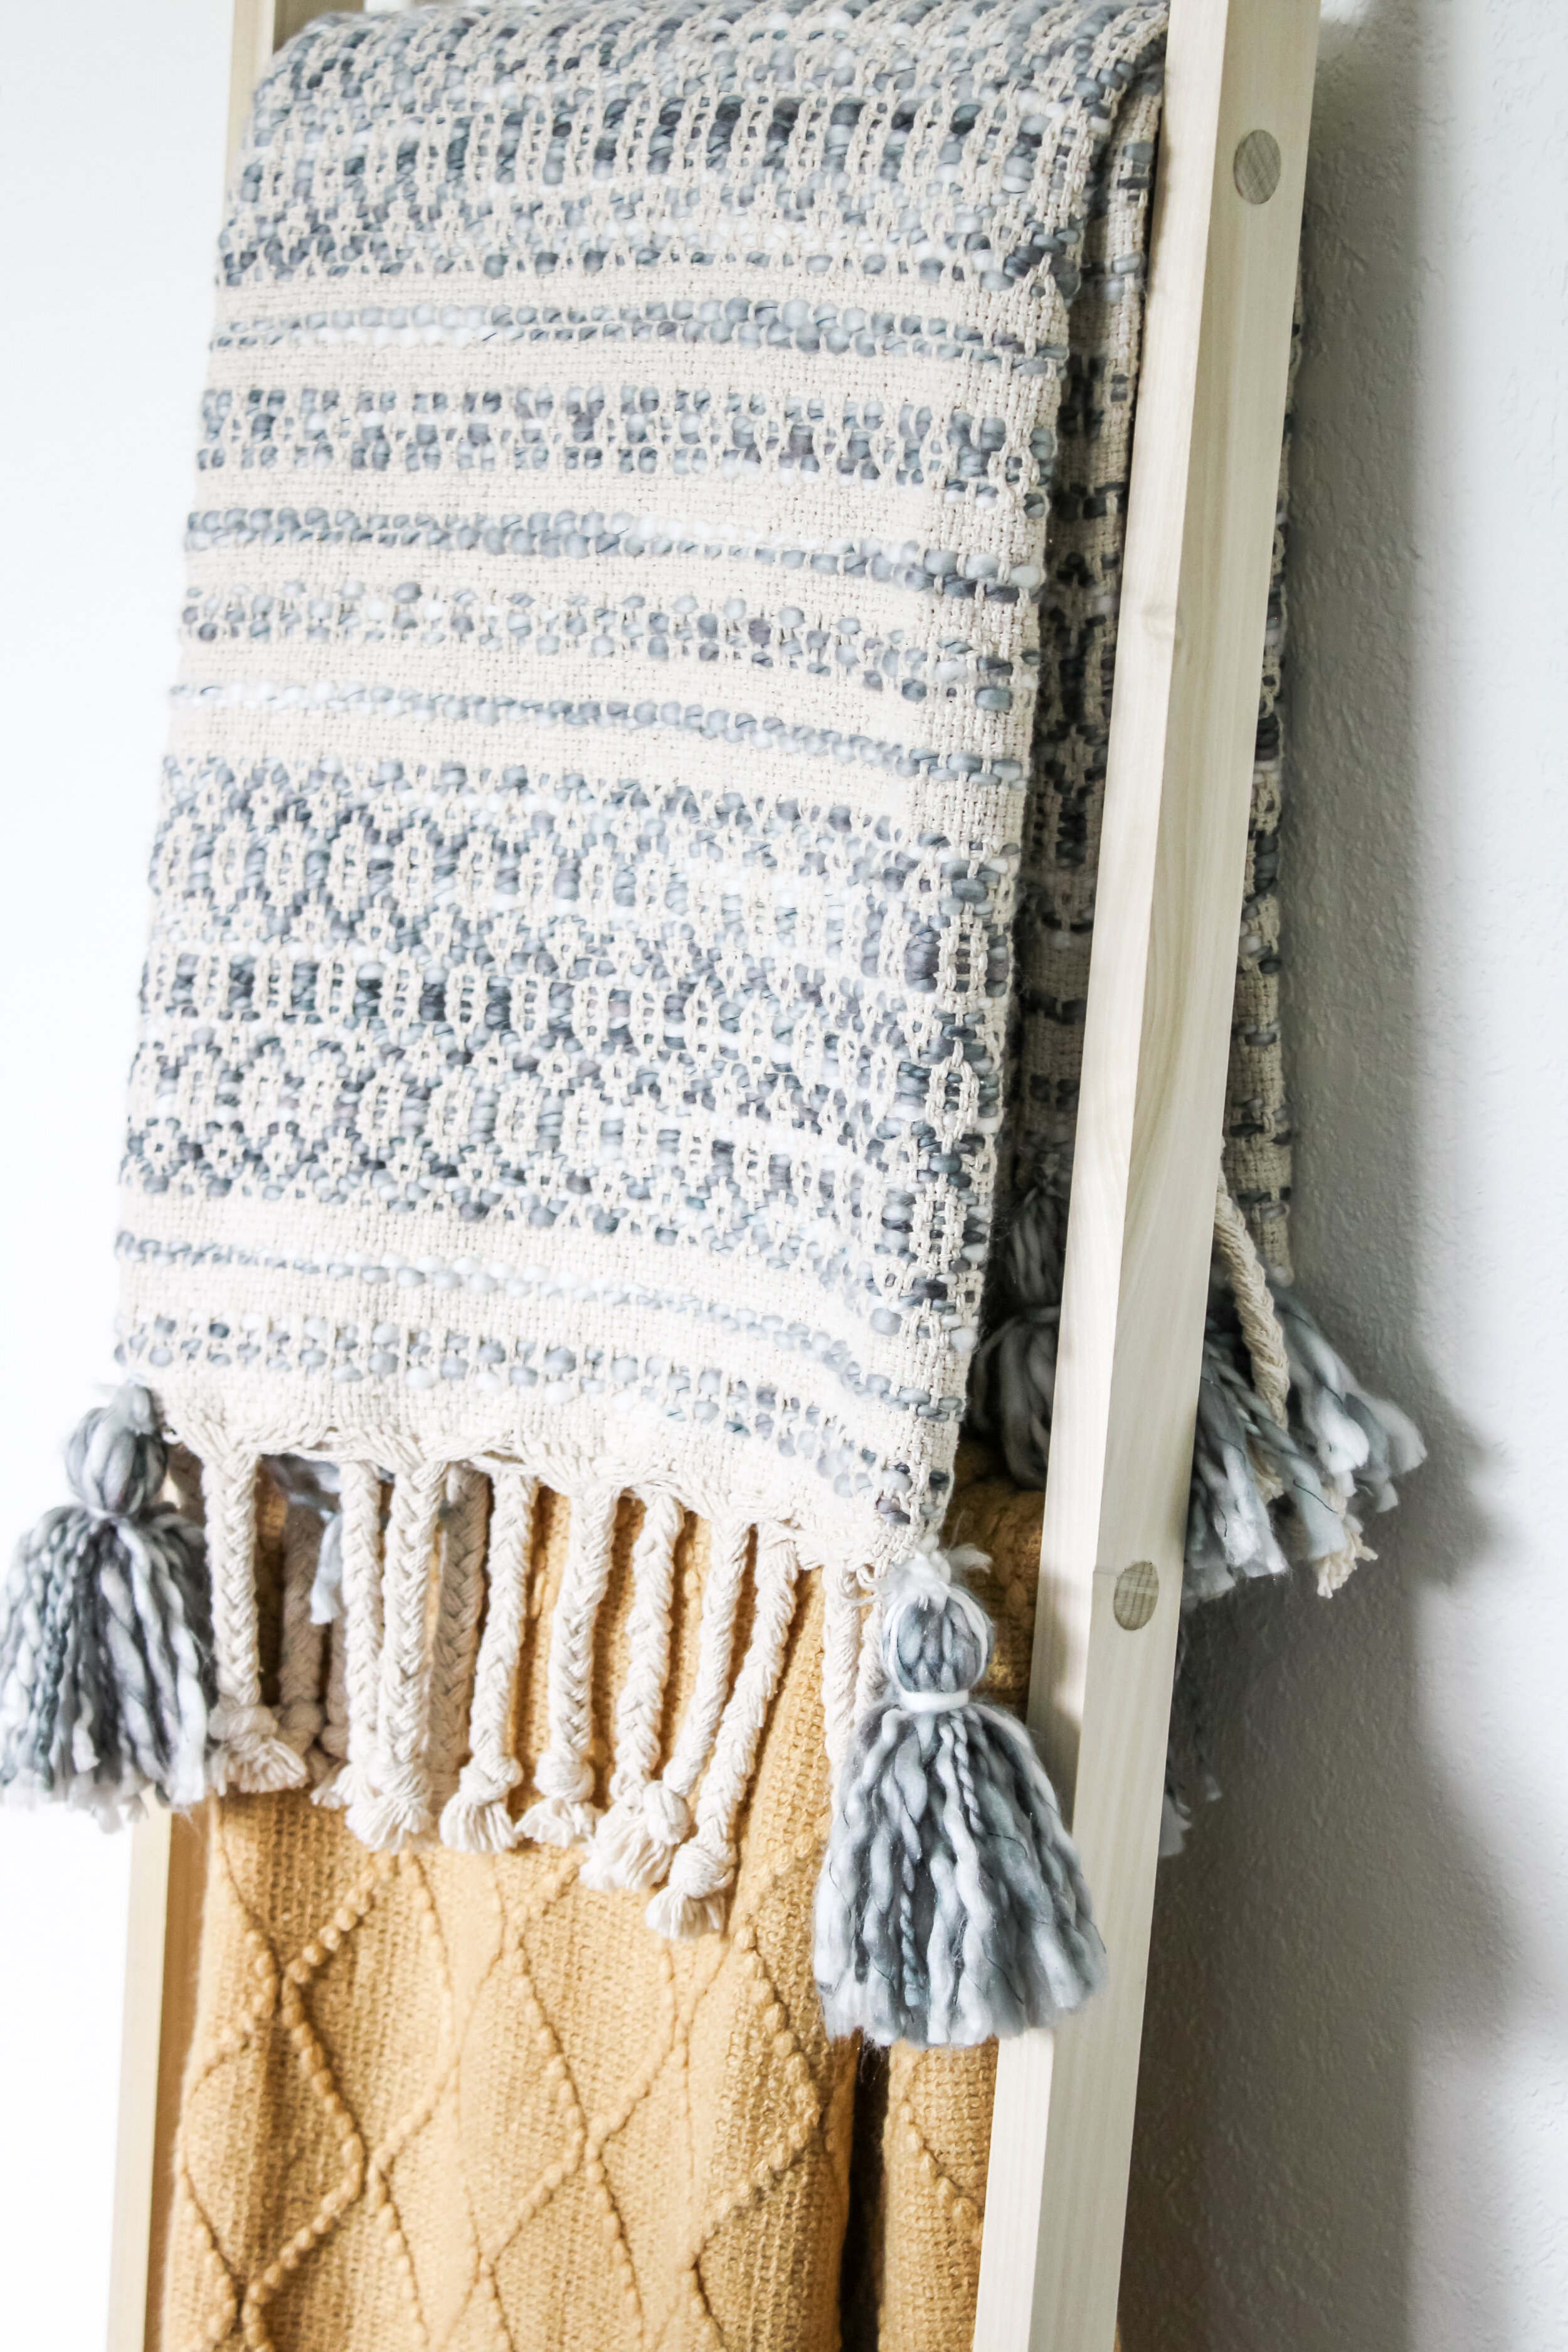
how to combine textures for a balanced home

For more of our latest projects, follow along on instagram at @peacockanddahlia
©Peacock & Dahlia 2025 | design by tonic + Sophia STudio | photos by Sophia Studio + Elevae
Intentional Design for Soulful Spaces
virginia beach, va


+ Show / Hide Comments
Share to: