


")

When it was announced that we would have 8 weeks for the Challenge, as opposed to the usual 6, I thought surely I’d have more than enough time and I would be sitting back enjoying my work ahead of the timeline.
And then we all had a good laugh…
This is my first One Room Challenge and I have so many plans and I am not going to be able to fit it all within the allotted time. That’s okay though, because I’ll come back and update as I complete the rest. These are just the times we’re in right now and supplies and installs take a bit more time and finesse. Budgeting constraints as well as furloughs put a halt on on the major purchases (i.e. the new front door and install), but we’re 90% there! So let’s get into what happened this week leading up to the grand finale.
Here’s a reminder of where we started:

I finally felt safe bringing the runner downstairs late in Week 7. With two toddlers, you just never know, but I come armed with a multitude of cleaning tactics. After installing the runner in the entryway, it soon became the “jumping challenge” point for my kids to jump down from the stairs and onto it. If there’s a better way to help settle a new and freshly unrolled rug – I haven’t seen it.

We got to work on the wall storage concept now that we finally nailed down a design that made sense for our home. In efforts to be resourceful and make the best use of our materials, my husband and I used some lumber we had lying around in the shop for our wall storage. It didn’t take us long to mark, trim to a rough length and then crosscut on the table saw. We used a 1 inch paddle bit to make a shallow inset for the screw head to rest on once we anchored the boards to the wall. Once painted, the holes were hardly noticeable, and I’m going to cover some of them with the hooks anyhow. I chose to offset the wall hooks, partly because I like the look, but also because it makes the best use of the wall space and allows for more storage. However, we ran into a bit of a predicament – when we tested the fit prior to finish and install, we discovered just how truly convex the wall is. The depth was enough for me to fit two paint sticks between the back of the planned board and the wall. Cue disbelief. I mean, I knew that the wall was a bit wonky to start with, but I did not foresee it being so profound. After the shock wore off, I laughed and started to think about other ways to make this work.
The idea of a trellis is in my mind because of other projects that I want to build, so I began to think about how to use the existing boards that have already been cut and prepped in a way that’s still structurally sound. I opted for a simple solution – one that allowed me to use the existing boards and I simply added a shim to the center anchoring point to ensure stability and allowed the anchor to attach to the wall in a more secure manner. To be real, my son climbs everything, so it HAS to be strong.

Fun fact: my husband was wearing that hat the night we met
As I mentioned during last week, I chose to use postcards as my artwork format for my inspiration photos. I knew I wanted something clean and minimal for the frames, and I was able to find the perfect option and order it online with just enough time to spare. I purchased two matted frames from Target and inserted my prints in each of them.
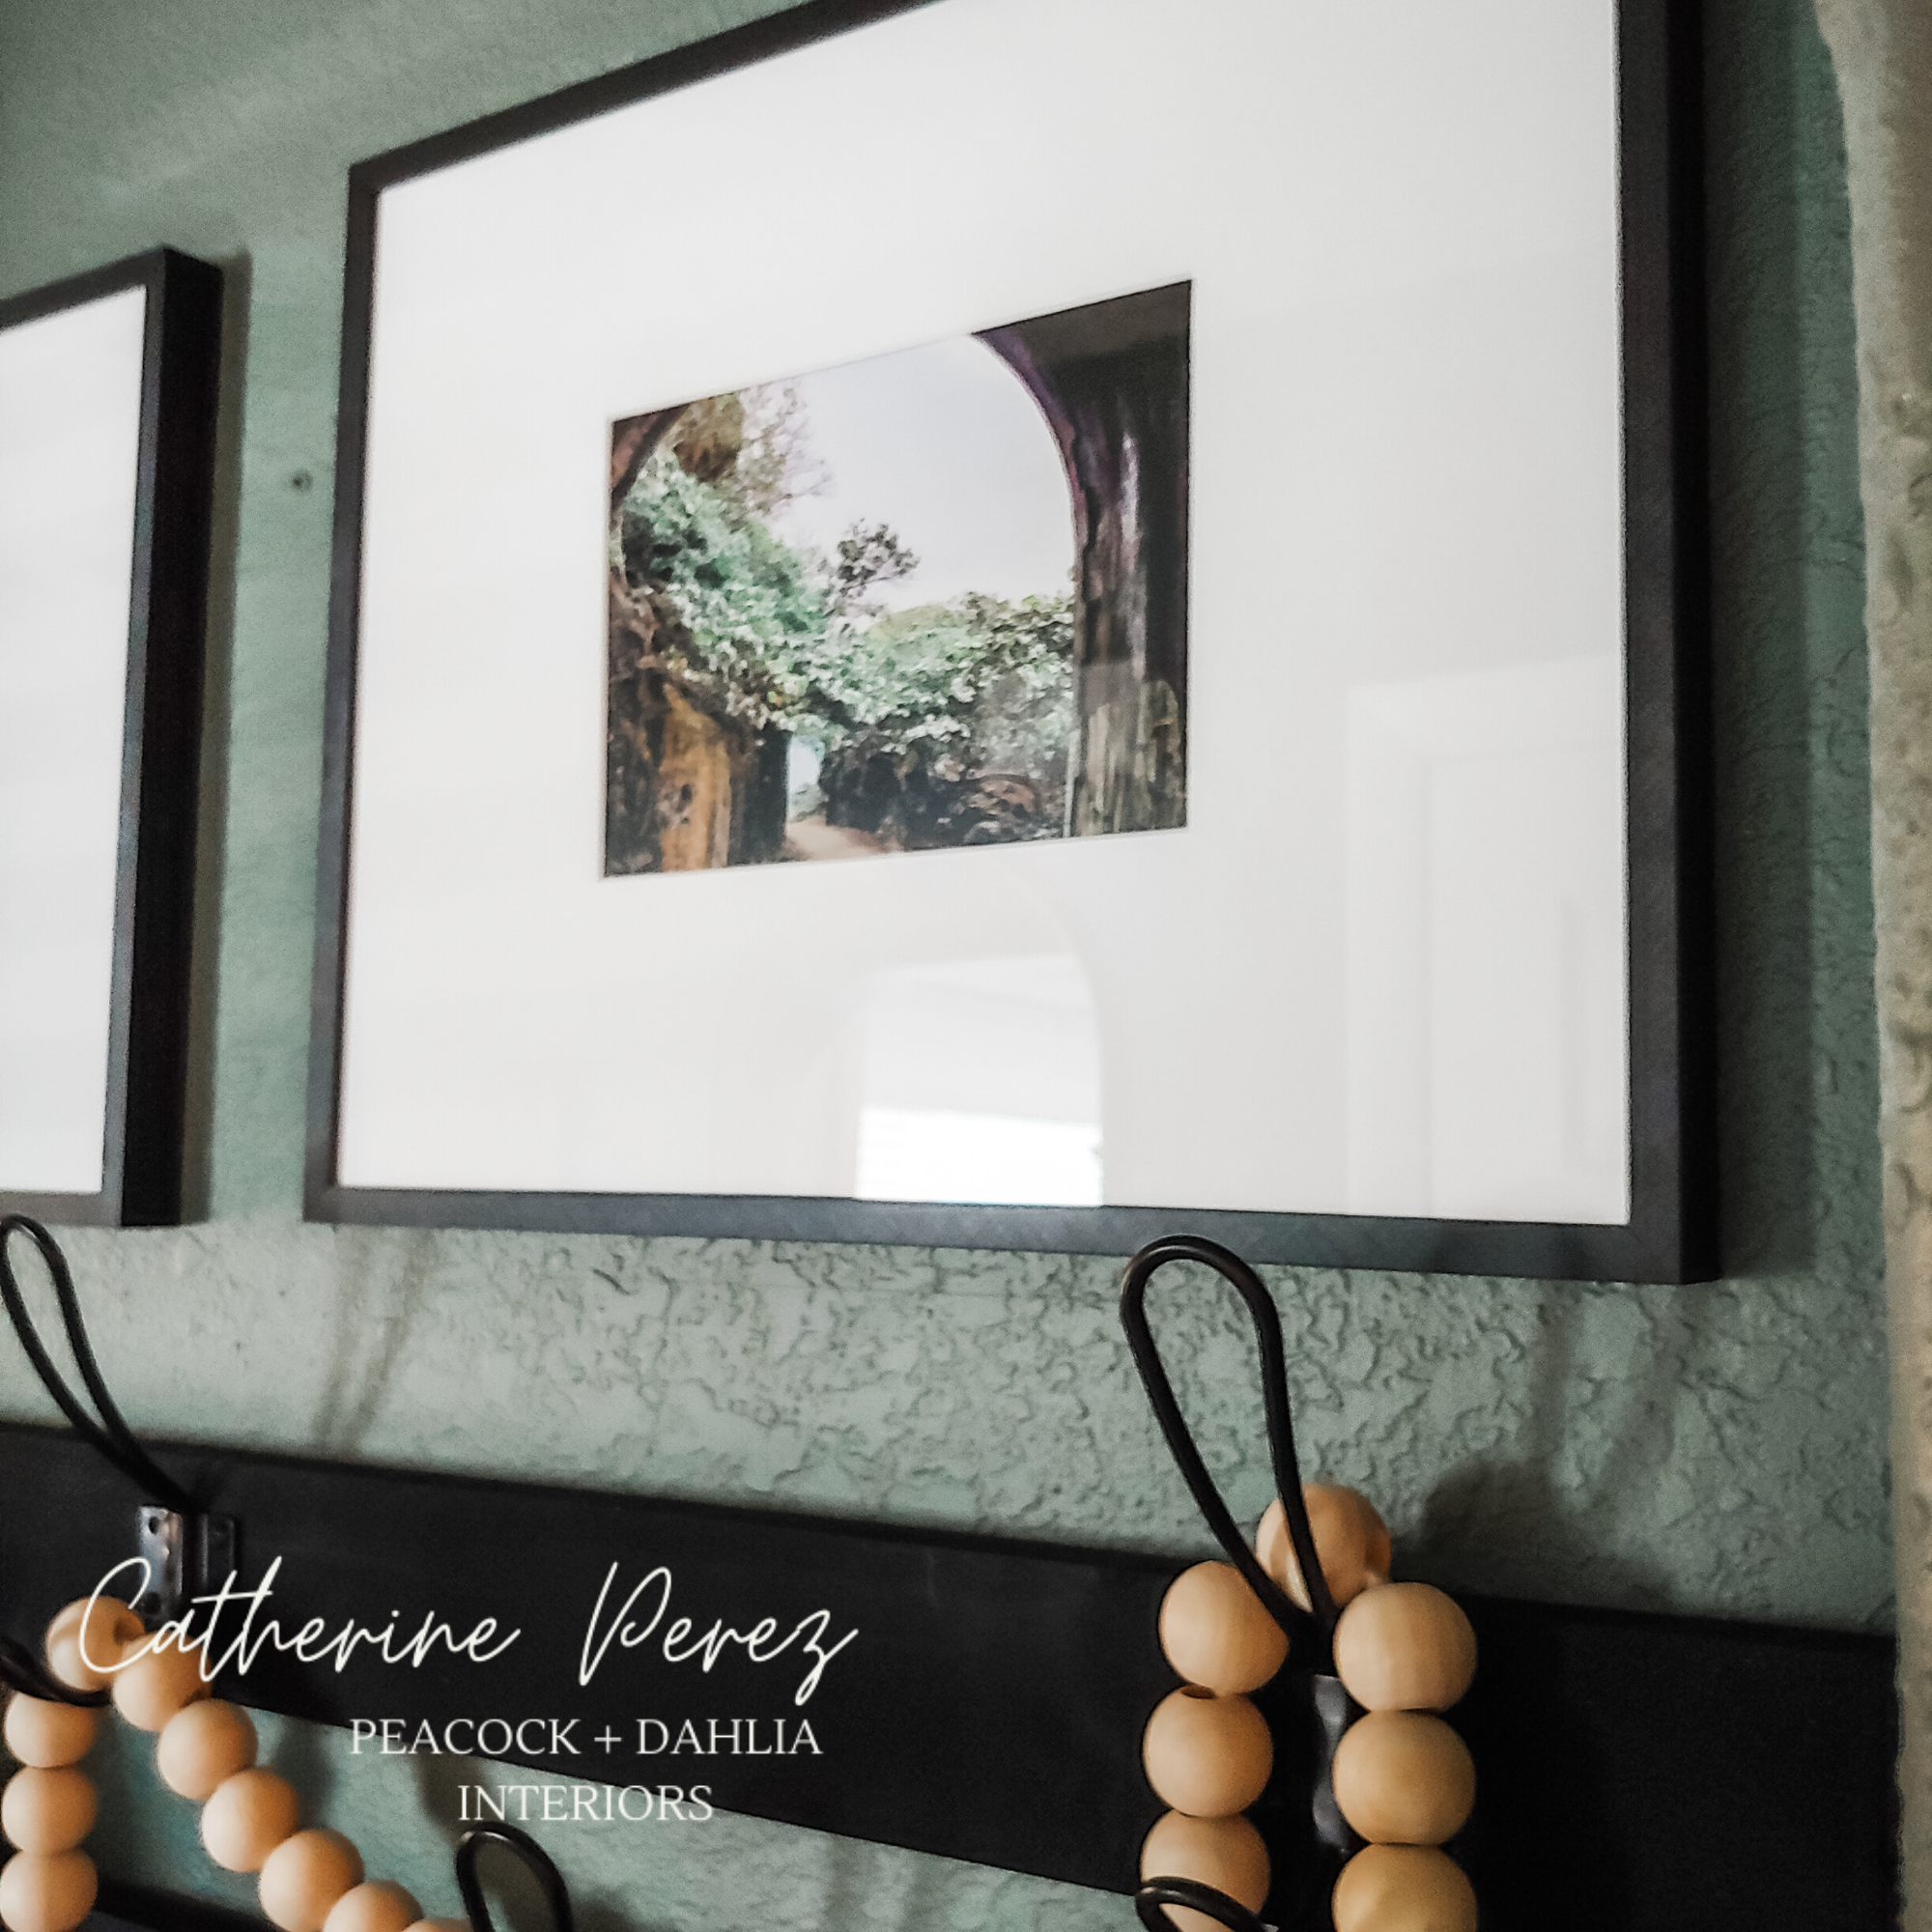
The clean lines of these frames feel perfect for the space and bring the crisp edge I was looking for.

The tape here was to mark the proposed areas for the rest of the wall hooks. Why 10? Because they came in a pack of 10 and that was the next best option on short notice as my local stores were out 😉

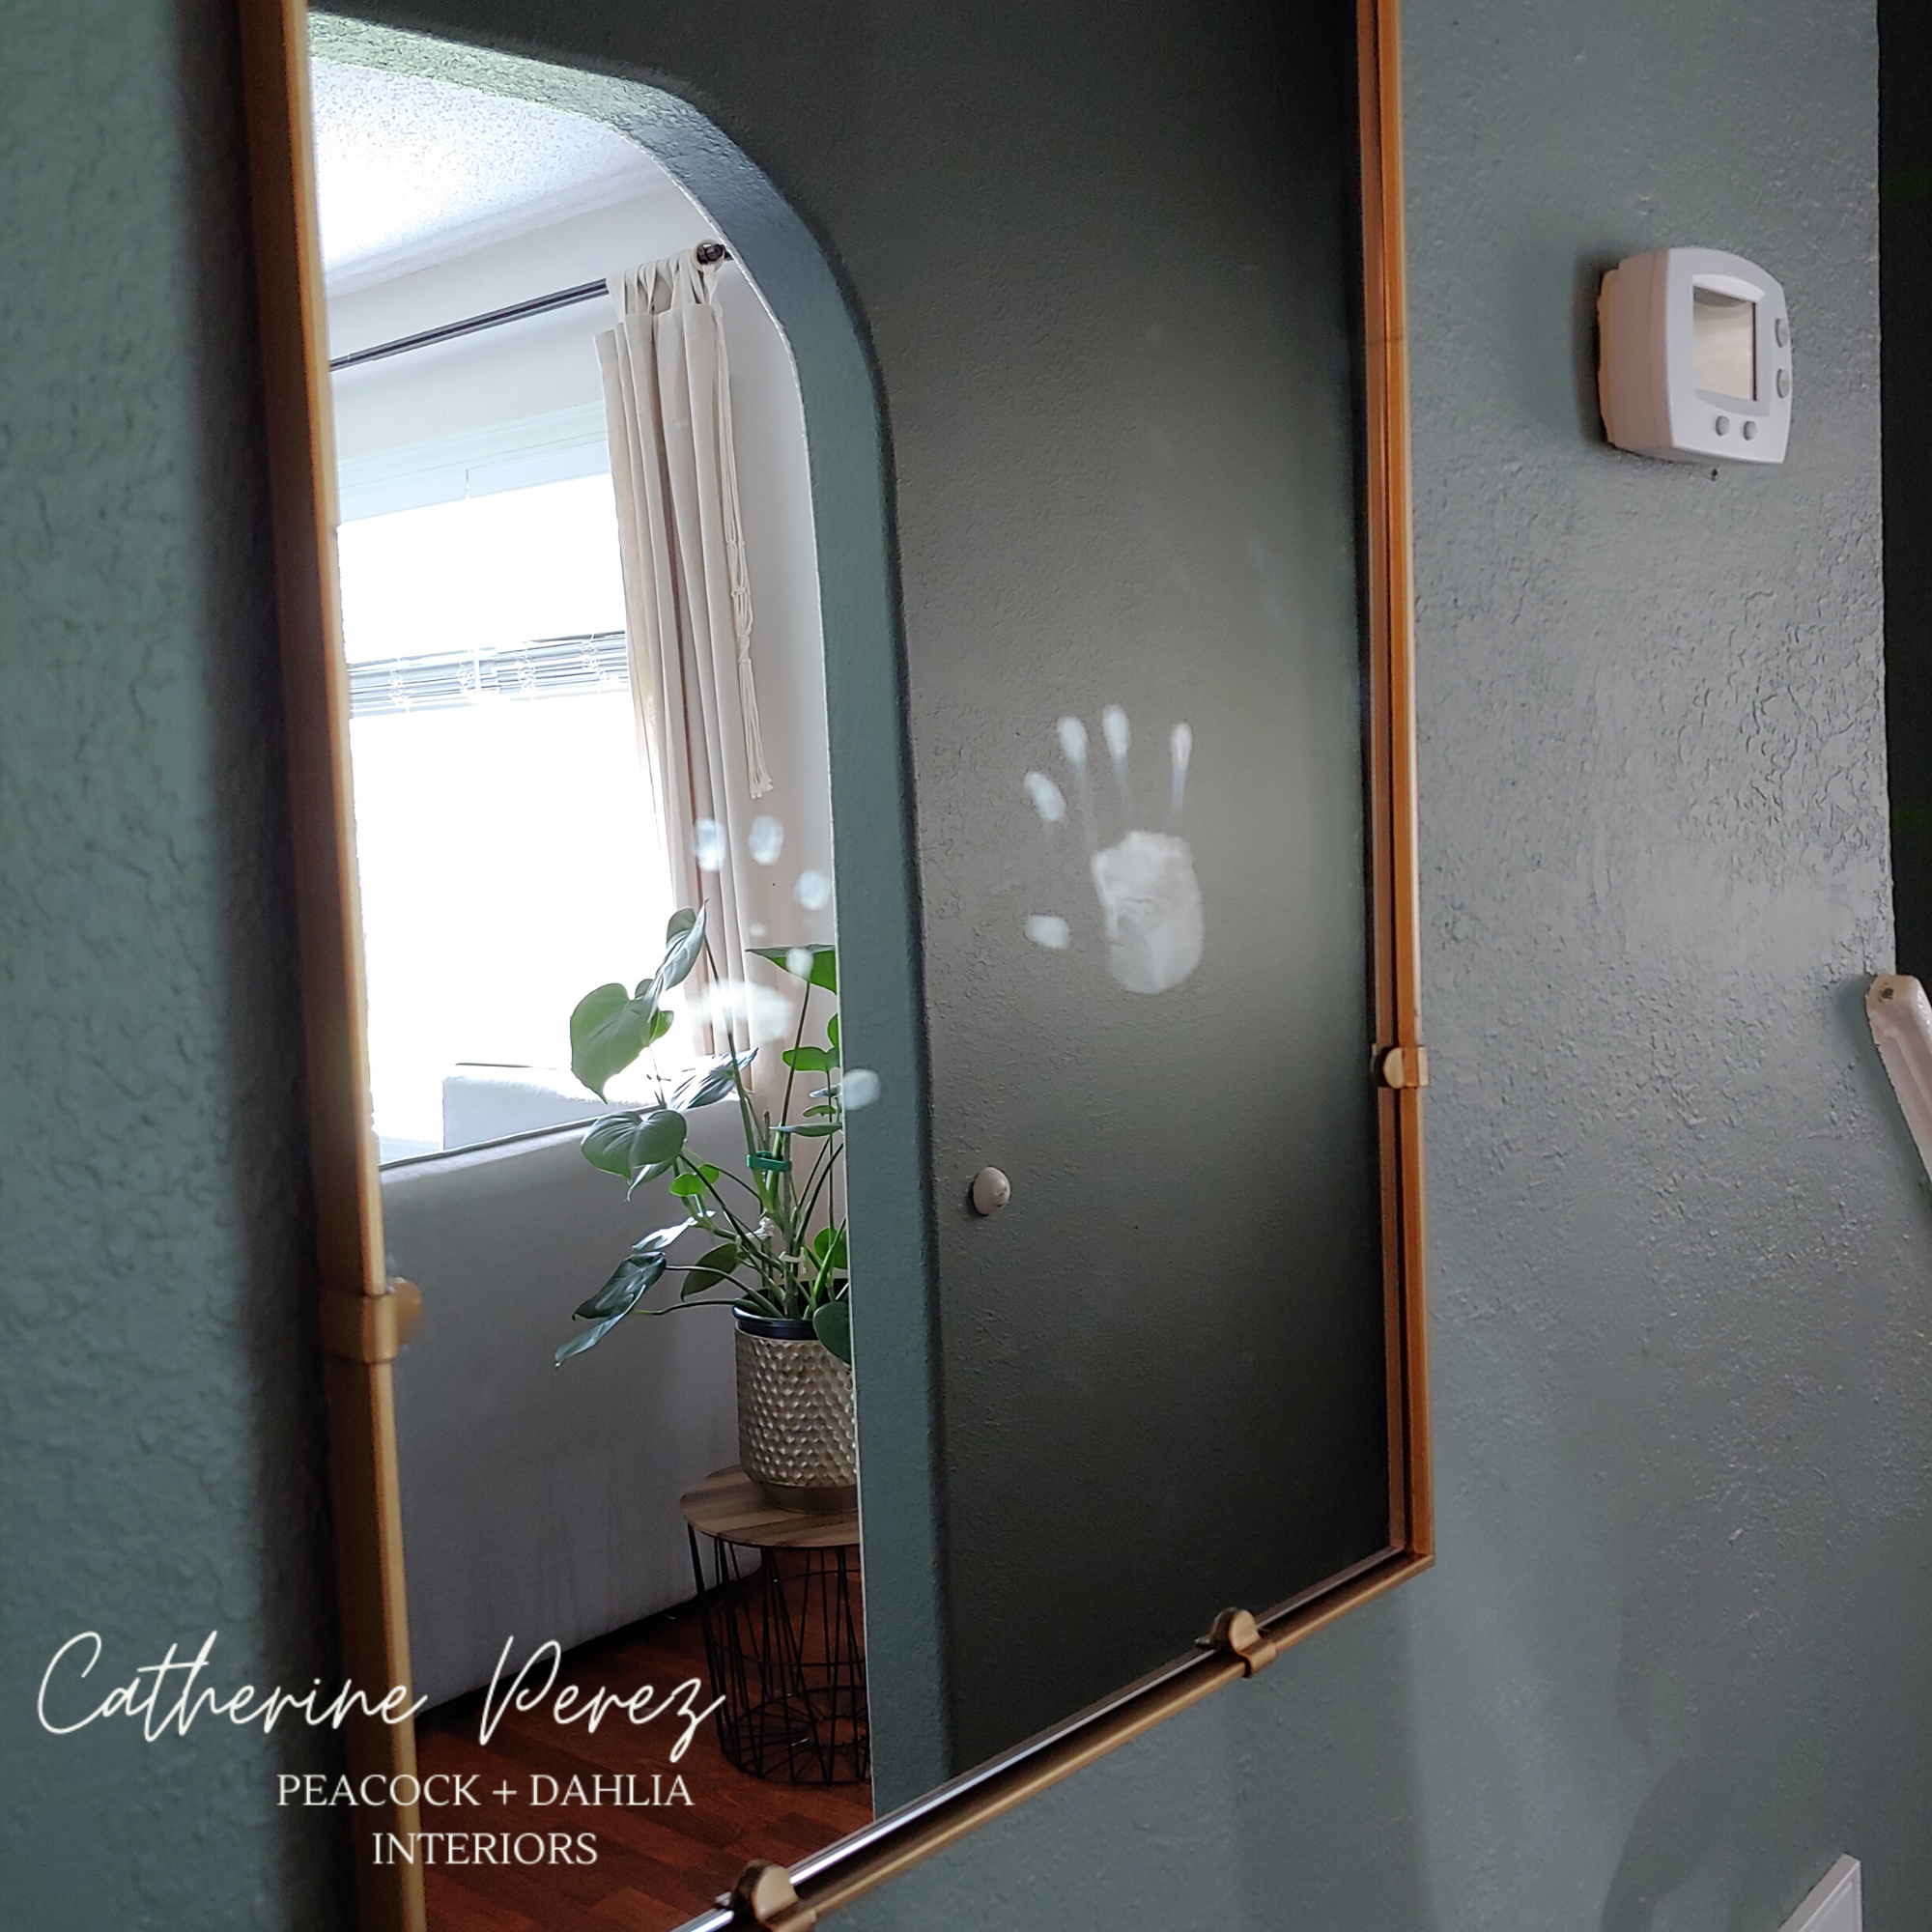
I really like catching the space in the mirror. Pretty cool, right?
As for the closet, it’s cleaned out and I’m using baskets to contain our shoes for now. I’ll have to come back and update that part later.
If you’ve been following me for a bit, you know I’ve got it bad…like, how I love to change things up. I’ve already got more ideas rattling around in my head. Instead of compromising on our second choice of front entry door, we’re going to wait and purchase as soon as the budget allows and I’ve got some fresh ideas that are going to skyrocket this space even more! Hold onto your seats! I’m sure I’m not the first one itching to make a drastic change in the eleventh hour or the challenge, but this is so good I just have to jump!
Here’s the updated concept:

I have lusted after this wallpaper from the very first moment I saw it. I sampled it in black, and loved the pattern and the print, but for this project I wanted something that came across a bit lighter. When I found it in a different colorway, that was it! I ordered it and crossed my fingers and toes that it would arrive on time. To my disbelief, I ordered and was pleasantly surprised that it was set to arrive the very next day!!! Talk about perfection! Or was it dumb luck? Either way, this paper was in my hot little hands and I set to making plans for the install after furiously reading over the instructions to be sure I knew how to install, since this is also the first time I’ll be installing pre-pasted wallpaper. There will be no more throwing of dog toys down the stairs…if I can help it, that is.
I put one strip up on the wall and thought about it overnight. You see, my husband wasn’t keen on the paper and said it didn’t feel quite right. After sleeping on it for a night, I modeled it using the eDesign Tribe platform, and I had to agree that it just felt off. Now, this was absolutely heart-wrenching for me to accept. Our entryway is just not the right place for this paper in all its full glory, but now I’ve got plenty to use elsewhere in the house and it shall be used. All that being said, install was a cinch! I’m also no longer afraid of using pre-pasted paper and I actually prefer it to my recent experience with peel-and-stick paper. Still wanting to add some flair to the space, I considered framing a section of the paper to add a “pop” to the wall.

I bought 4 frames from my local Michael’s (thank you curbside pickup!) with a mat to 8×10. After placing the paper in the frames, it really adds a the touch to the space and seems to pull it all together without pushing another element out of its’ place.
I know many of you are loving the yellow circle, so that baby is not going anywhere, at least for now. I’m absolutely enamored with the view of the wall rack from my corner “office”. Hello, corner of the dining room.

I’m awestruck at just how much change I’ve been able to facilitate with this makeover during some of the most interesting times. That being said, the corner of the kitchen counter that has harbored many of my supplies is the clearest it’s been in EIGHT WEEKS ha! While we still have our white door, I was able to clean it up pretty well with some Murphy’s Oil Soap and elbow grease.
Suddenly, it’s as if the light fixture conundrum kind of nudged me in the right direction, because without all the changes, the fun stuff happening RIGHT NOW would not have happened. Serendipity. I LOVE it.

I cannot believe this change in my entryway!
Cheers!

Now go read some more cool projects! The ORC logo at the top will take you there 😉
*If you’re curious about any item I used for the challenge, drop a comment below or send me a message. I’ll also be posting a Shop The Look in the coming weeks.
")
Previous Post
Next Post
Not sure where to start?
Get Catherine's complimentary home tips here!

furniture investment workbook
SHop Our favorite Collections online
Grab your guide and get un-stuck here!

For more of our latest projects, follow along on instagram at @peacockanddahlia
©Peacock & Dahlia 2024 | design by tonic + Sophia STudio | photos by Sophia Studio + Elevae
Intentional Design for Soulful Spaces
virginia beach, va


+ Show / Hide Comments
Share to: