

spring one room challenge: painting the cabinets

")

HELLO AGAIN HOME LOVERS! I’M BACK WITH AN UPDATE ON THIS WEEK’S PROGRESS ON THE KITCHEN RENOVATION PROJECT.
We are knee-deep in progress on bringing new life into this kitchen!
CATCH UP ON THE LAST FOUR WEEKS HERE:
WEEK 1 | WEEK 2 | WEEK 3 | WEEK 4 |week 5
So. Much. Painting.
This week I focused on painting nearly everything that I could. First, I primed all of the surfaces that I needed to paint in order to blend the new with old, doing two coats just for good measure. This meant the cabinet boxes and visible frame and trim.
After the primer set, (which didn’t take long since it’s a water-based formula), then I was ready to apply the first coats of the top coat. I spent a fair amount of time researching which formula I wanted to use. I wanted to be sure I chose a product and finish that would be durable for a home with two very active kids, a dog who thinks he’s a puppy still at age nine, and let’s face it – I can make a mess with flour.
That being said, I chose an alkyd formula that acts like an oil-based finish, but with soap and water cleanup. After a few weeks of curing (the process by which the paint will harden over time), we should be good!
Now, I will have to touch up a few places, as we still need to demo the existing countertops; however I plan to protect the edges with delicate painters’ tape and some paper. After re-installing the uppers, my husband got a few noticeable fingerprints on the outer edge of one side and then Rambo rubbed some hair on another box for good measure ♀️.
I’m loving the finish so far, and aside from a few areas that need a touch-up after curing and removing the countertops, it’s looking fly! *The left image below here is after one coat of the top coat. The second coat covered like a dream!


Next up, I began removing the drawer fronts and noticed several more screws than necessary, two of which were hidden under the hardware – much like when we were removing the uppers.
DIY is not for the faint of heart…
With a hammer and a pair of pliers, we were able to remove the faceplate of the sink front. Between my husband and I, we were able to draw out the pieces for the drawer and door fronts – with special consideration for maximizing the lumber with the rising costs. All of the pieces should be able to be cut from 4 sheets of plywood.
Also, over the weekend, I picked up the new flooring for the kitchen and entryway. It looks amazing, and you’ll have to take my word for it for now because it’s currently stacked in my office. We need to remove the existing flooring and lay down the moisture barrier before placing the new flooring. I think that’s when this whole project is going to become real.
I’ve been dreaming of updating this kitchen for the better part of three years now, and to see it come to life with my own hands doing the work has been immensely satisfying. It’s what I love, after all. Creating spaces that bring joy are what it’s all about, and every little detail is what I see – bringing in all the pieces to create a peaceful and transformative home.
Several weeks ago, I placed the order for a new light fixture, but like many suppliers right now, it’s simply hasn’t arrived yet and the estimated delivery had been moved 2-3 times. I made the decision to cancel that order and place an order for a different fixture. This particular one had been on my list from the beginning of my concept creation, however I opted for the option I thought the best fit at the time. Flash forward a few revisions, and the desire for change, plus the availability of the fixture and the timing seemed perfect!
I feel like there has been so much completed, yet still so much to do.
I’m slowly (but surely) working on removing all of the existing drawer fronts and the pantry doors are wide open for young eyes to see ALL of the snacks. I also still need to design and build the new and improved dining table.
TLDR? Here’s a few updates:
-primer and paint for the ceiling just delivered
-new light fixture for the main dining area scheduled to be delivered 6/10
-prep done for the countertop removal
-new flooring picked up and awaiting install
-work to begin on the new cabinet doors and drawer fronts
-still need to design and build the new dining table
THE BIG TO-DO LIST:
✅ removing the existing popcorn ceiling
⬜ placing a new backsplash still looking for the “right” one and this will take weeks after countertop install
⬜ building a new dining table (original design)
⬜ making the cabinet doors & drawer fronts (hello table saw!)
⬜ refacing the cabinet fronts (priming and painting, attaching hardware)
⬜ new countertop install install date 6/21!!!
✅ measure for templating of the new countertops
✅ level bar area to one level (demo done!)
✅ finalize new flooring selection
⬜ remove existing flooring and replace
✅ priming and painting walls (after demo/leveling of the bar wall) (in process)
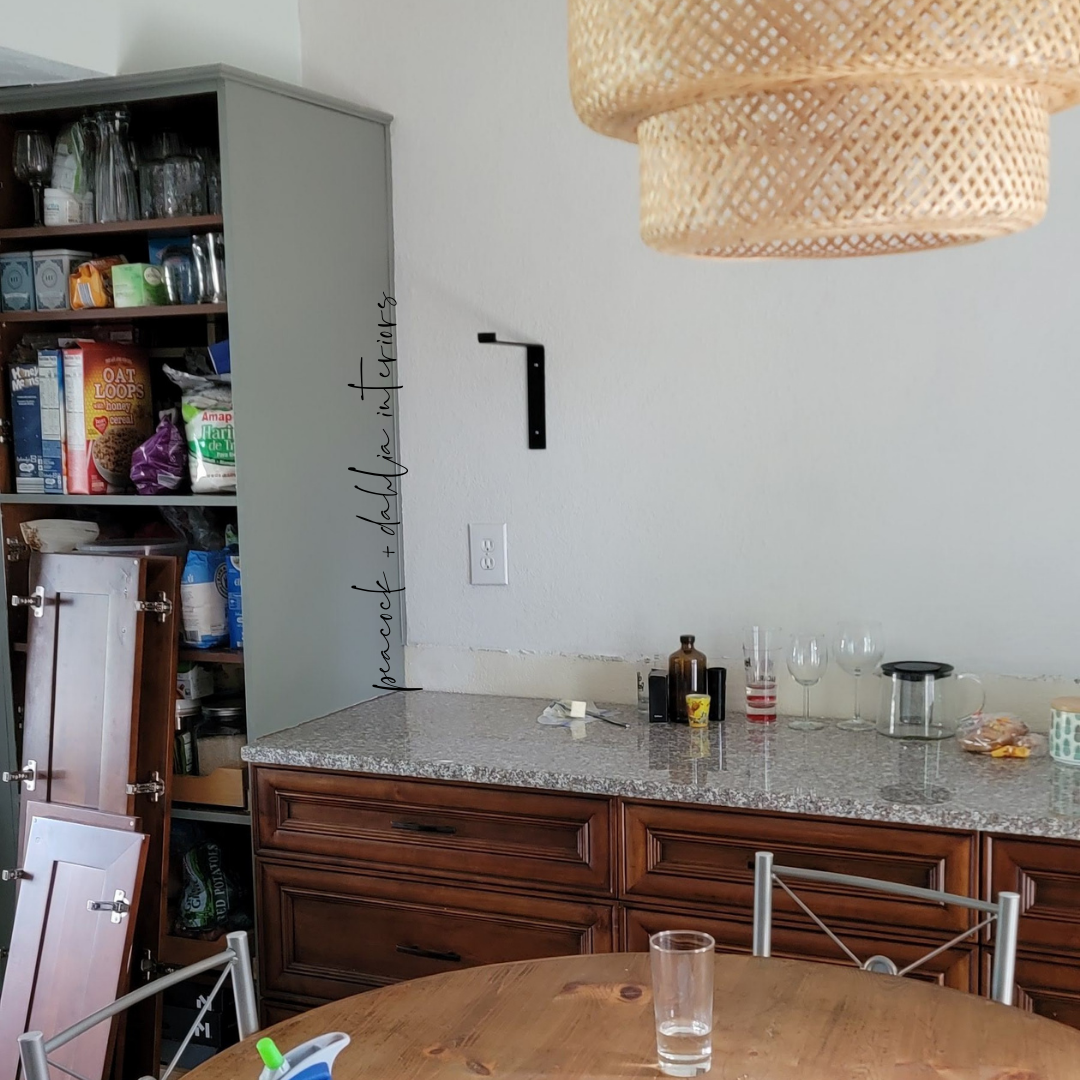
✅ determine bracket placement
✅ determine backsplash height
⬜ lumber for coffee bar shelf (local lumber yard) in process
✅brackets installed for floating shelves (✅right of sink area/⬜coffee bar area)
✅ replace light fixture (including the “b00b” one over the sink area)
✅ order new faucet
✅ replacing light fixtures (main dining area fixture ordered w/ estimated delivery mid-June)
⬜ replacing faucet & sink (placed when countertops are going in) waiting for countertop install
⬜ cleaning and painting vent covers to match walls
✅ remove upper cabinets to prime and paint walls and cabinets
✅ priming & painting cabinet boxes in process
✅ updating cabinet hardware new hardware ordered & received
⬜ replacing switch places and outlet covers
Check out some of the other awesome projects here on the ORC Blog page!

Catherine Perez
founder, Peacock + Dahlia Interiors

Previous Post
Next Post
Not sure where to start?
Get Catherine's complimentary home tips here!

build your furniture investment: the workbook
SHop Our favorite Collections online
how to combine textures for a balanced home

For more of our latest projects, follow along on instagram at @peacockanddahlia
©Peacock & Dahlia 2025 | design by tonic + Sophia STudio | photos by Sophia Studio + Elevae
Intentional Design for Soulful Spaces
virginia beach, va


+ Show / Hide Comments
Share to: